8 Steps to a More Organised Office
A cluttered office can quickly lead to stress, distraction, and reduced productivity — especially during busy periods like EOFY. The good news? Creating a more organised workspace doesn’t have to be overwhelming. Small changes can make a huge difference to how your office looks, feels, and functions.
Whether you work from home or in a busy office environment, these eight simple strategies can help you create a calmer, more efficient workspace.
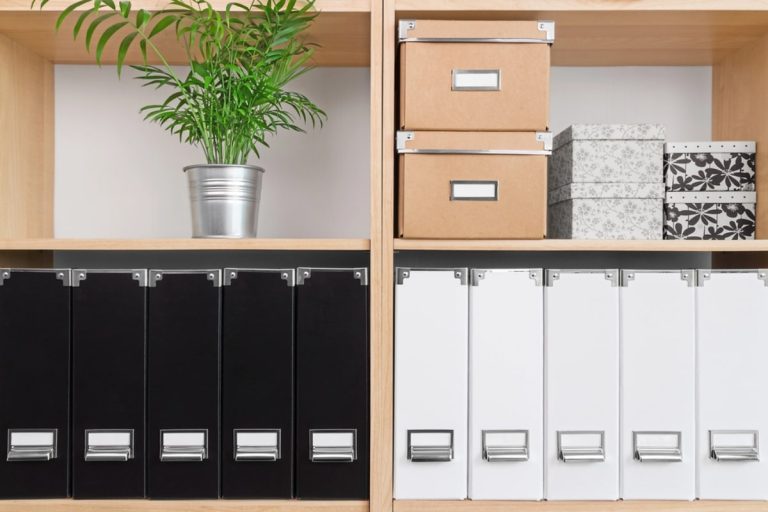
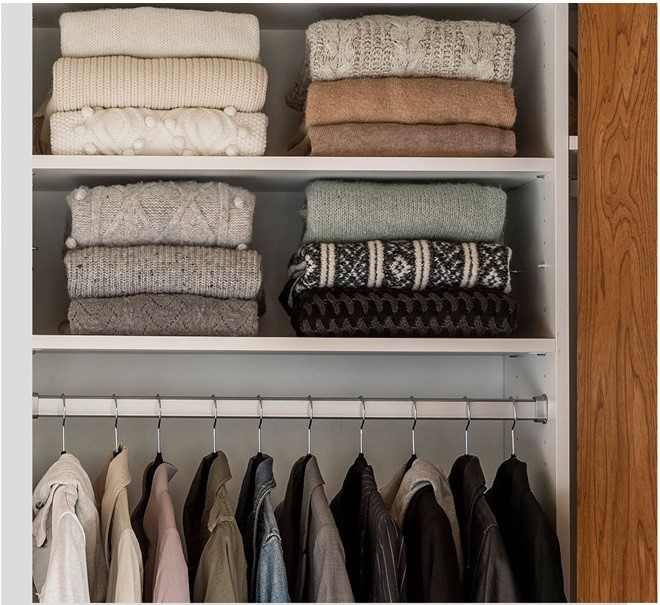
1. Use Wall Space with Shelves and Organisers
When desk space is limited, think vertically. Shelves, wall-mounted organisers, and hanging file systems can free up valuable work surfaces while keeping important items within easy reach.
Using wall space effectively allows you to store documents, reference materials, and supplies without creating visual clutter. The less crowded your desk is, the easier it becomes to focus on the task at hand.
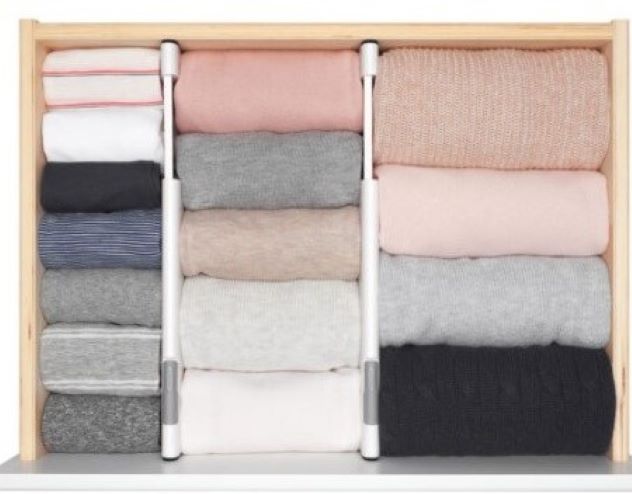
2. Keep Small Items Tidy Using Trays or Containers
Paper clips, pens, sticky notes, chargers, and other small office supplies have a way of multiplying and spreading across every available surface.
Using trays, drawer dividers, or small containers helps group similar items together so they’re easy to find when you need them. It also makes tidying up quicker and prevents small items from becoming a big source of clutter.
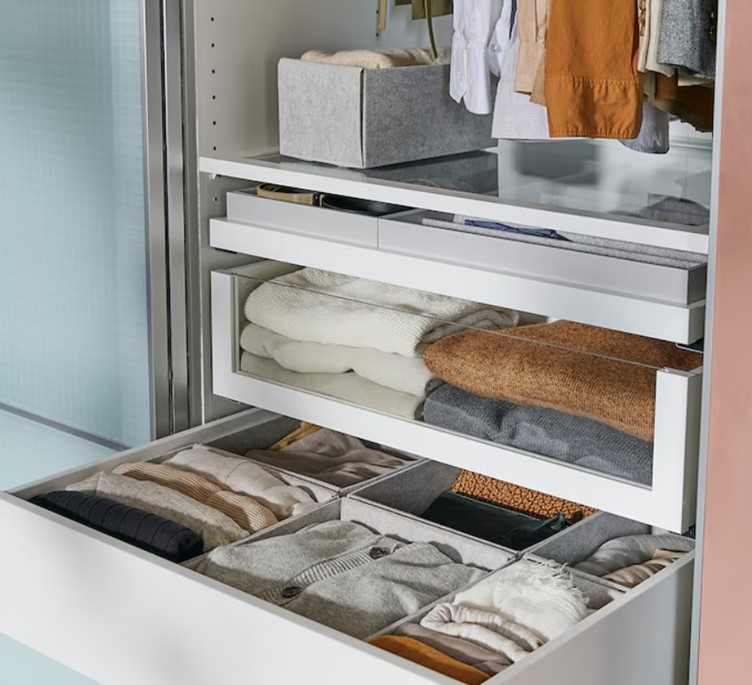
3. Use Storage Boxes to Reduce Drawer Clutter
Not everything needs to live in your desk drawers. Decorative boxes or labelled storage containers are perfect for holding supplies you don’t use every day.
Items such as spare stationery, archived paperwork, technology accessories, and seasonal materials can all be stored neatly out of sight. This keeps your immediate workspace functional while ensuring important items remain accessible.
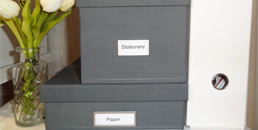
4. Set Up Labelled Inboxes for Sorting Documents
Paperwork can easily become overwhelming if it doesn’t have a designated place to go. Creating clearly labelled inboxes or trays can simplify the decision-making process and stop piles from forming.
Categories such as “To Action”, “To File”, “Waiting For”, or “This Week” help you process documents more efficiently and ensure important tasks don’t slip through the cracks.
This is particularly useful during EOFY when invoices, receipts, and financial records tend to accumulate.
5. Leave Some Empty Space for New Projects
It can be tempting to fill every shelf, drawer, and storage container to capacity. However, leaving a little empty space provides flexibility.
An empty drawer, shelf, or magazine holder gives you somewhere to temporarily house new projects or incoming paperwork without creating chaos elsewhere in your office.
A little breathing room goes a long way in maintaining organisation.
6. Have One “Catch-All” Spot for Temporary Items
Life gets busy, and sometimes there simply isn’t time to immediately put everything away.
Having one designated basket, tray, or container for temporary items provides a safe place for things that need attention later. The important part is limiting yourself to just one catch-all spot and reviewing it regularly.
Without boundaries, those temporary piles can quickly take over an entire workspace.
7. Spend Five Minutes Resetting Your Desk Daily
One of the simplest habits you can adopt is a daily desk reset.
At the end of each workday, spend five minutes filing paperwork, returning supplies to their homes, clearing rubbish, and preparing for the next day.
Starting each morning with a clean, organised workspace helps reduce stress and increases productivity. It also prevents clutter from building up over time.
8. Keep It Simple — Less Clutter Means Less Stress
Organisation isn’t about having endless storage containers or colour-coded systems. Often, the simplest solutions are the most effective.
Regularly assess what you truly use and need in your office. If something no longer serves a purpose, consider recycling, donating, or disposing of it responsibly.
The fewer unnecessary items you have competing for your attention, the easier it becomes to maintain an organised and functional workspace.
Ready to Tackle Your Office Organisation?
EOFY is the perfect opportunity to refresh your workspace and put systems in place that support you year-round.
At The Lifestylers Group, we help individuals and businesses declutter, organise, and create practical solutions tailored to their unique needs. Whether you need help sorting paperwork, setting up systems, or transforming an overwhelming office into a productive space, we’re here to help.
Because an organised office doesn’t just look better — it helps you work better, too.