by Natalie Morey | May 21, 2025 | Declutter tips, Organise, Organising, Tips
Tame the Chaos: 9 Drop Zone Tips from Our Team

The drop zone – it’s arguably one of the most-used (and most-abused) spaces in the home. Located near your most common entrance, it catches everything from shoes and school bags to mystery crumbs and 14 unmatched socks. There’s never been a better time to take back control.
We asked our team of decluttering pros to spill their secrets. Here’s what they shared:
Location, location, location
Your drop zone should be near the door you use the most – garage, front or back. Don’t overthink it. If your kids barge in like a cyclone through the garage every day, that’s where the drop zone goes.
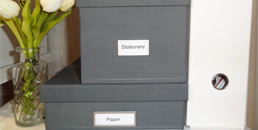
Contain the clutter
Use baskets, trays or tubs for each person. Bonus points for labelling them – and no, “stuff” is not a valid label.
Go vertical
Install hooks for bags, hats and coats. Wall space is often wasted real estate – give it a job and make it earn its keep.
A seat is not a luxury
A bench gives you somewhere to perch while wrestling on shoes. It also doubles as extra storage if it opens or has baskets underneath. Genius.
Corral the shoes
Use a shoe rack, tray or cubbies. Unless you love tripping over sneakers at 7am, this one’s essential.
Set up a charging station
Corral cords and chargers in one spot so no one “forgets” their phone again. Tech tidy = less morning chaos.
Use a family calendar or whiteboard
Keep schedules and notes here. Think of it as your family’s mission control. (Also one less excuse for forgetting school photo day.)
Keep it kid-friendly
Hooks at kid height, low baskets and a visual routine chart can help the little ones to use the space independently.
Regularly reset
Once a week, do a quick tidy up. Put rogue items back where they belong (no, the umbrella does not live on the floor).
by Natalie Morey | Mar 5, 2025 | Declutter tips, Organise, Organising, Tips
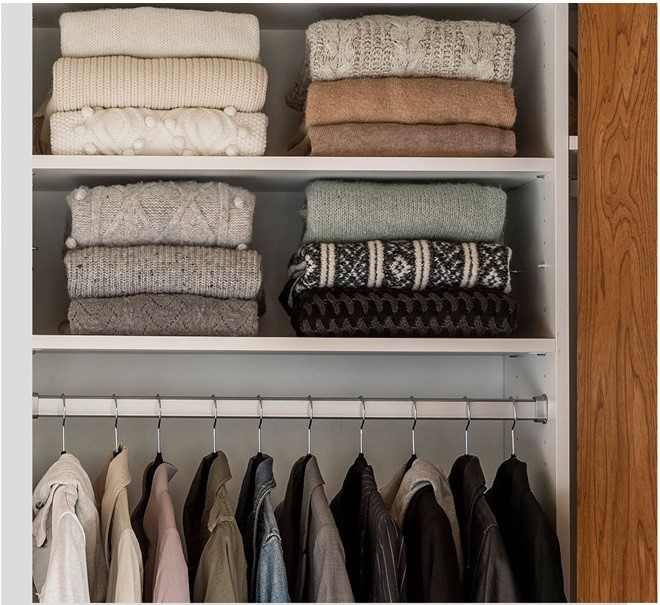
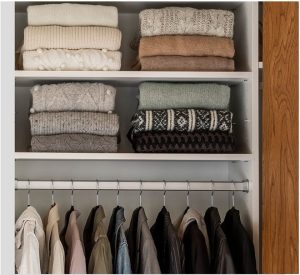
With the start of a new season, it’s the perfect time for a mini declutter. Get your winter wardrobe neat and organised with these smart storage solutions.
1) Fold bulky jumpers instead of hanging them to prevent stretching. Fold in short even stacks to prevent them from falling over.
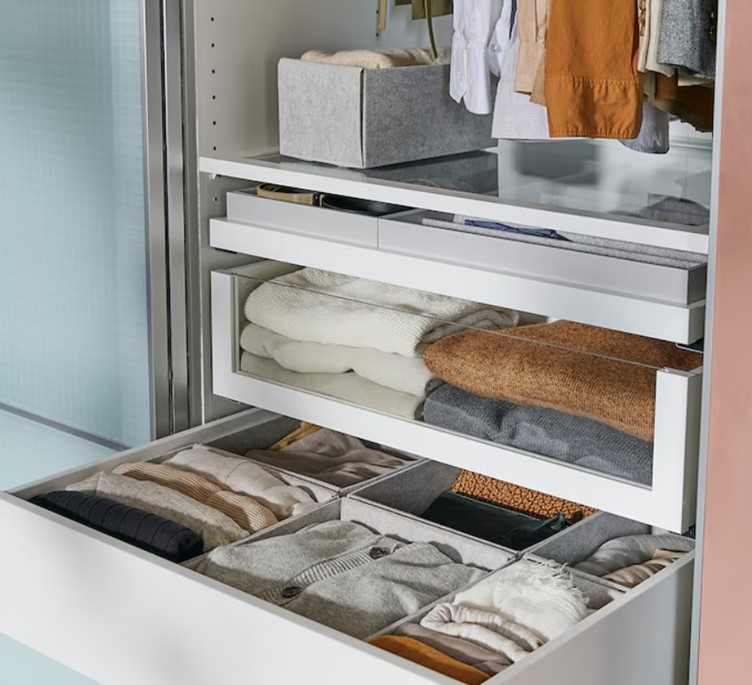
2) Use drawer dividers or containers to keep jumpers grouped neatly. Felt ones are great as your woollen clothes won’t catch on them.
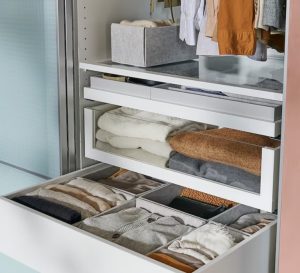
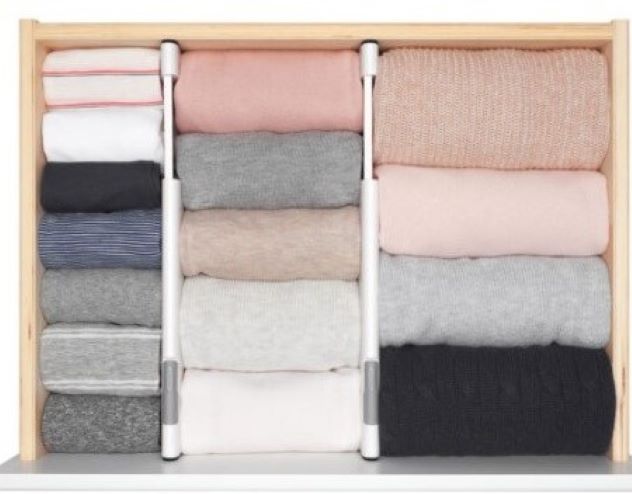
3) Adjustable draw dividers is another way to help keep bulky items organised.

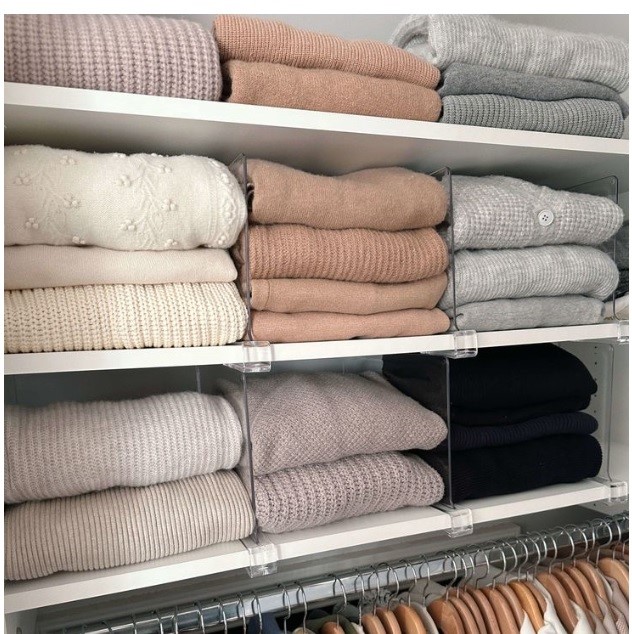
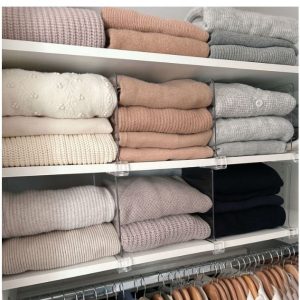
4) Use acrylic dividers. These clip onto your shelves and are the perfect solution to keep items grouped and stacked upright.
by Natalie Morey | Nov 7, 2024 | Declutter tips, Organise, Organising, Tips
With only 7 weekends till Christmas, here’s 7 tips to get organised this Christmas.
1. Create a Christmas Checklist
- Why: Having a visual timeline can help you break down tasks into manageable chunks.
- How: Mark important dates such as parties, school or sporting breakups and deadlines for holiday cards or meals. Write down tasks like shopping, decorating and wrapping gifts. Assign deadlines to each task so you stay on track.
2. Start Gift Shopping Early (and Make a List)
- Why: Avoid the stress of last-minute shopping and ensure you find thoughtful gifts.
- How: Make a list of everyone you need to shop for, along with ideas for each person. Check off each name as you purchase or order the gifts. Consider shopping online to save time and avoid crowded stores.
3. Declutter and Organise Your Space
- Why: A tidy home creates a peaceful environment for the holidays and makes room for gifts and decorations.
- How: Spend a couple of weekends decluttering key areas like your entryway, living room and kitchen. Donate or sell items you no longer use. Also, consider organising your storage spaces so you can easily access your holiday decorations when it’s time to put them up.
4. Plan Your Holiday Meals Early
- Why: Planning ahead helps you avoid the chaos of last-minute grocery runs and ensures you don’t forget any ingredients.
- How: Create a menu for all meals you’ll be hosting and make a shopping list. Consider ordering non-perishable items in advance or using delivery services to save time. If you’re hosting multiple people, coordinate with guests about what they’ll bring.
5. Set a Budget
- Why: Avoid financial stress by sticking to a holiday budget.
- How: Use a spreadsheet or budgeting app to track expenses and stick to your limits. Include a buffer for unexpected expenses (like shipping fees or extra ingredients).
6. Tackle Holiday Cards Early
- Why: Sending cards can be time-consuming, so starting early helps you avoid rushing through them.
- How: Address envelopes and write personalized notes in advance. If you’re ordering custom cards, plan ahead for printing and shipping times. Set aside time to send them out before the holidays get too hectic.
7. Prepare for Guests
- Why: You want your guests to feel welcome
- How: If you’re hosting, prepare your guest room or space. This might mean decluttering or clearing out items to make space or planning for additional meals or activities. Consider if you need to buy extra presents so everyone gets a gift on Christmas day?
By following our 7 tips to get organised this Christmas, hopefully you’ll give yourself more time to relax and enjoy the true spirit of the season without feeling overwhelmed. And if you are feeling overwhelmed, then contact The Lifestylers Group. Our team of Professional Organisers love helping people to declutter and organise their homes.
by Natalie Morey | Sep 18, 2023 | Declutter tips, Home Organisation, Pantry Declutter, Pantry organization, Tips
Welcome to our Spring Declutter Challenge which kicks off on Saturday 23rd of September. All you need is 30 minutes a day (60 minutes if you can) to declutter and refresh as many of those potentially ‘unorganised’ or ‘cluttered’ spaces in your home. Good Luck!
Day 1- Drop Zones
These are the places where we leave things such as paperwork or bills to attend to at a later date such as the kitchen bench or a drawer in the kitchen or office. So here’s our 3 step process to quickly clear this area:
Step 1 – Spend 30 minutes going through old paperwork or bills and decide whether you need to keep them anymore.
Step 2 – Throw away/shred anything you no longer need and recycle old newspapers and junk mail.
Step 3 – Think about whether you could organise the space differently by using different storage options like a magazine file for paperwork, intray or a box to keep all the incoming bills and mail in.
Officeworks has a great range of magazine/file holders in beautiful colours! Check out their full range here.
Day 2 – Fridge Declutter
What is lurking in the back of your fridge? Today is the day to go through, shelf by shelf and take out all the items, check the used by dates and throw away anything that’s out of date. Then, do a deep-clean of the interior of your fridge with warm soapy water to wipe out any residue or spilt food you might have missed.
Spring Decluttering Challenge Tip # 1: Baking soda is known to catch and absorb odours so fill up a little bowl and pop it in the fridge too.
Next, place food back in the fridge once checked and remember to keep a list of things that were thrown out and you need to replace.
Spring Decluttering Challenge TIP #2: Create an “Eat me first” section. This works well to reminder you to eat food items before their expiry dates. It’s also handy to keep them at eye level, so they are easy to spot. Don’t forget to store items in air-tight containers too as this will keep them fresher for longer. And remember to give the outside of the fridge/freezer a good clean as well.
If you get into the habit of doing a quick wipe out of your fridge each week, before you pop all your fresh weekly shopping in there, you’ll find it cuts down on this cleaning time.
Day 3 – Bathroom Declutter
Spend 30 minutes going through your bathroom drawers, cupboards and throwing away anything that you no longer use. Pay particular attention to your makeup drawer or makeup storage area and if you have time to give the makeup brushes a wash, even better! Don’t forget to give the drawers and cupboards you’ve decluttered a good wipe out as well.
How long should you keep makeup for?
Here is a list of common makeup products and their suggested expiry dates as recommended by Choice. To read the full list from Choice, click here.
- Eyeliners and pencils:Pencil eyeliners are a typically wax-based product and should have no bacterial contamination but keeping them sharpened will help to keep them clean.
- Face and body moisturisers:Unopened, three years. Opened, six months.
- Hairstyling products:Three to five years. Most use alcohol in the formulation, which acts as a preservative. If non-aerosol and no alcohol is listed on the label, then treat as shampoos (see below).
- Lipstick and gloss: Unopened, five years. Opened, 12 months.
- Makeup foundation:Unopened, three years. Opened, six months.
- Mascara and liquid eyeliner(brush in vial): Unopened, three years. Opened, three months.
- Nail polish:Unopened, three years. Opened, six months.
- Nail polish remover:Useable indefinitely.
- Oils and serums: Unopened, three years. Opened, six months.
- Perfumes and aftershaves: Unopened, five years. Opened, 12 months, for best composition. For best longevity, keep them in a cool place away from bright, direct light.
- Self-tanning lotions: Unopened, three years. Opened, six months.
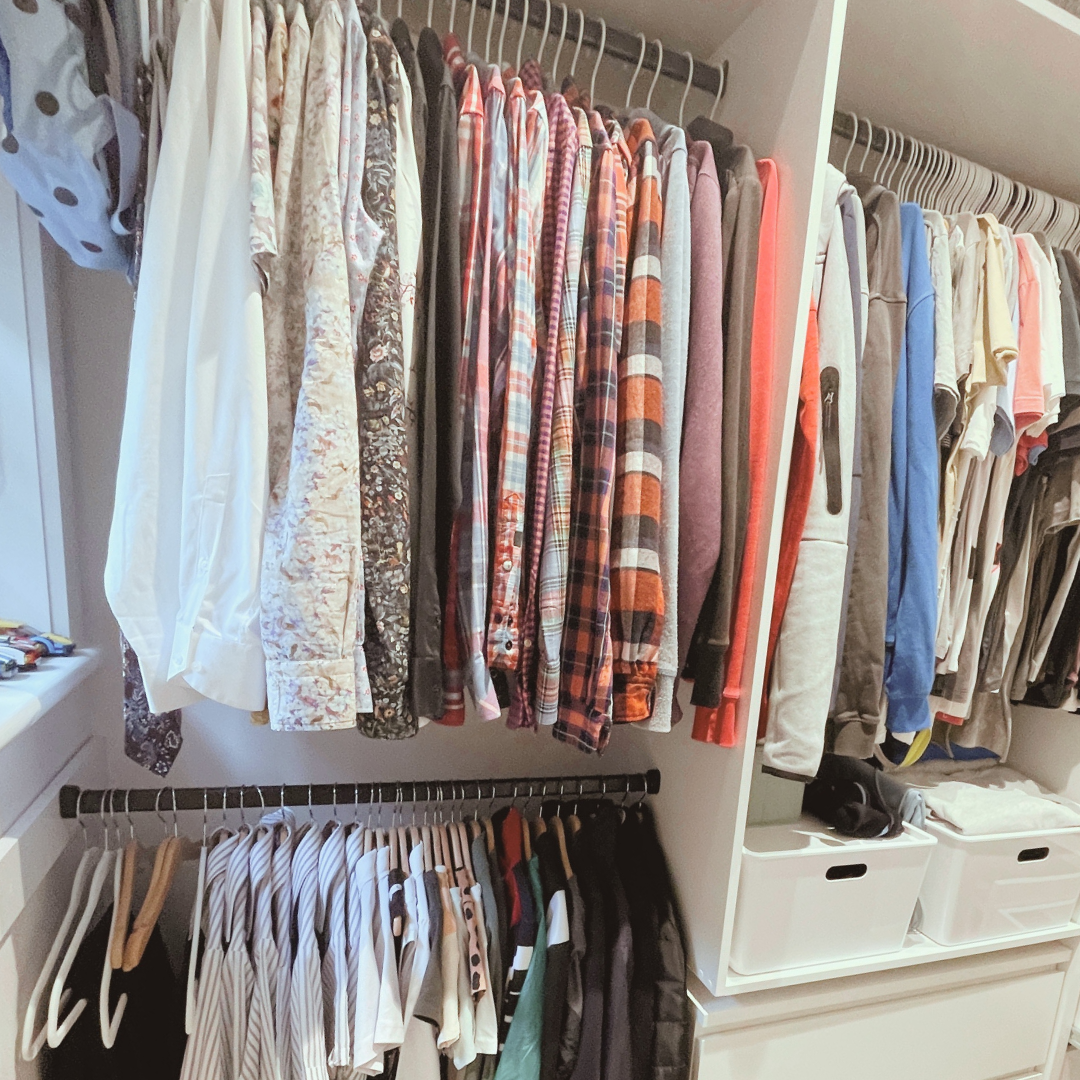
Day 4 – Wardrobe Declutter
A spring declutter challenge would not be complete with getting in and tackling your wardrobe. Now, you are probably going to need more than 30 minutes on this declutter though.
Start with the hanging section in your wardrobe first and go through item by item. Do you have items that you have not worn in the past 12 months. Perhaps you need to ask yourself the following question – If someone asked you to attend a party, function, coffee catch up or work function – would you wear that item? Consider giving the item to charity or a friend who might make use of it if you don’t think you will wear it. And, if you are holding onto an item because it was expensive, then consider selling the item on a platform such as Facebook Marketplace or a luxury second hand clothing retailer.
Next, put things back in the wardrobe and group like items together and colour block them i.e., put all white shirts together and so on.you can do the same process for your folded items too.
Spring Decluttering Challenge TIP # 1 Bag up all your unwanted items and pop them straight in your car ready to drop off at our local charity. The last thing you want is them making there way back into your wardrobe!
Now its onto your underwear and sock drawer to see if there is anything you can immediately throw away based on the condition of the item. You could also look at utilising some storage containers to help keep items more organised if you don’t already have containers. And if you live in a sunny location, perhaps its time to remove big heavy jackets or winter clothing items that won’t be worn till next year. You could pop them in a space bag and store elsewhere and rotate your wardrobe making summer items more accessible.
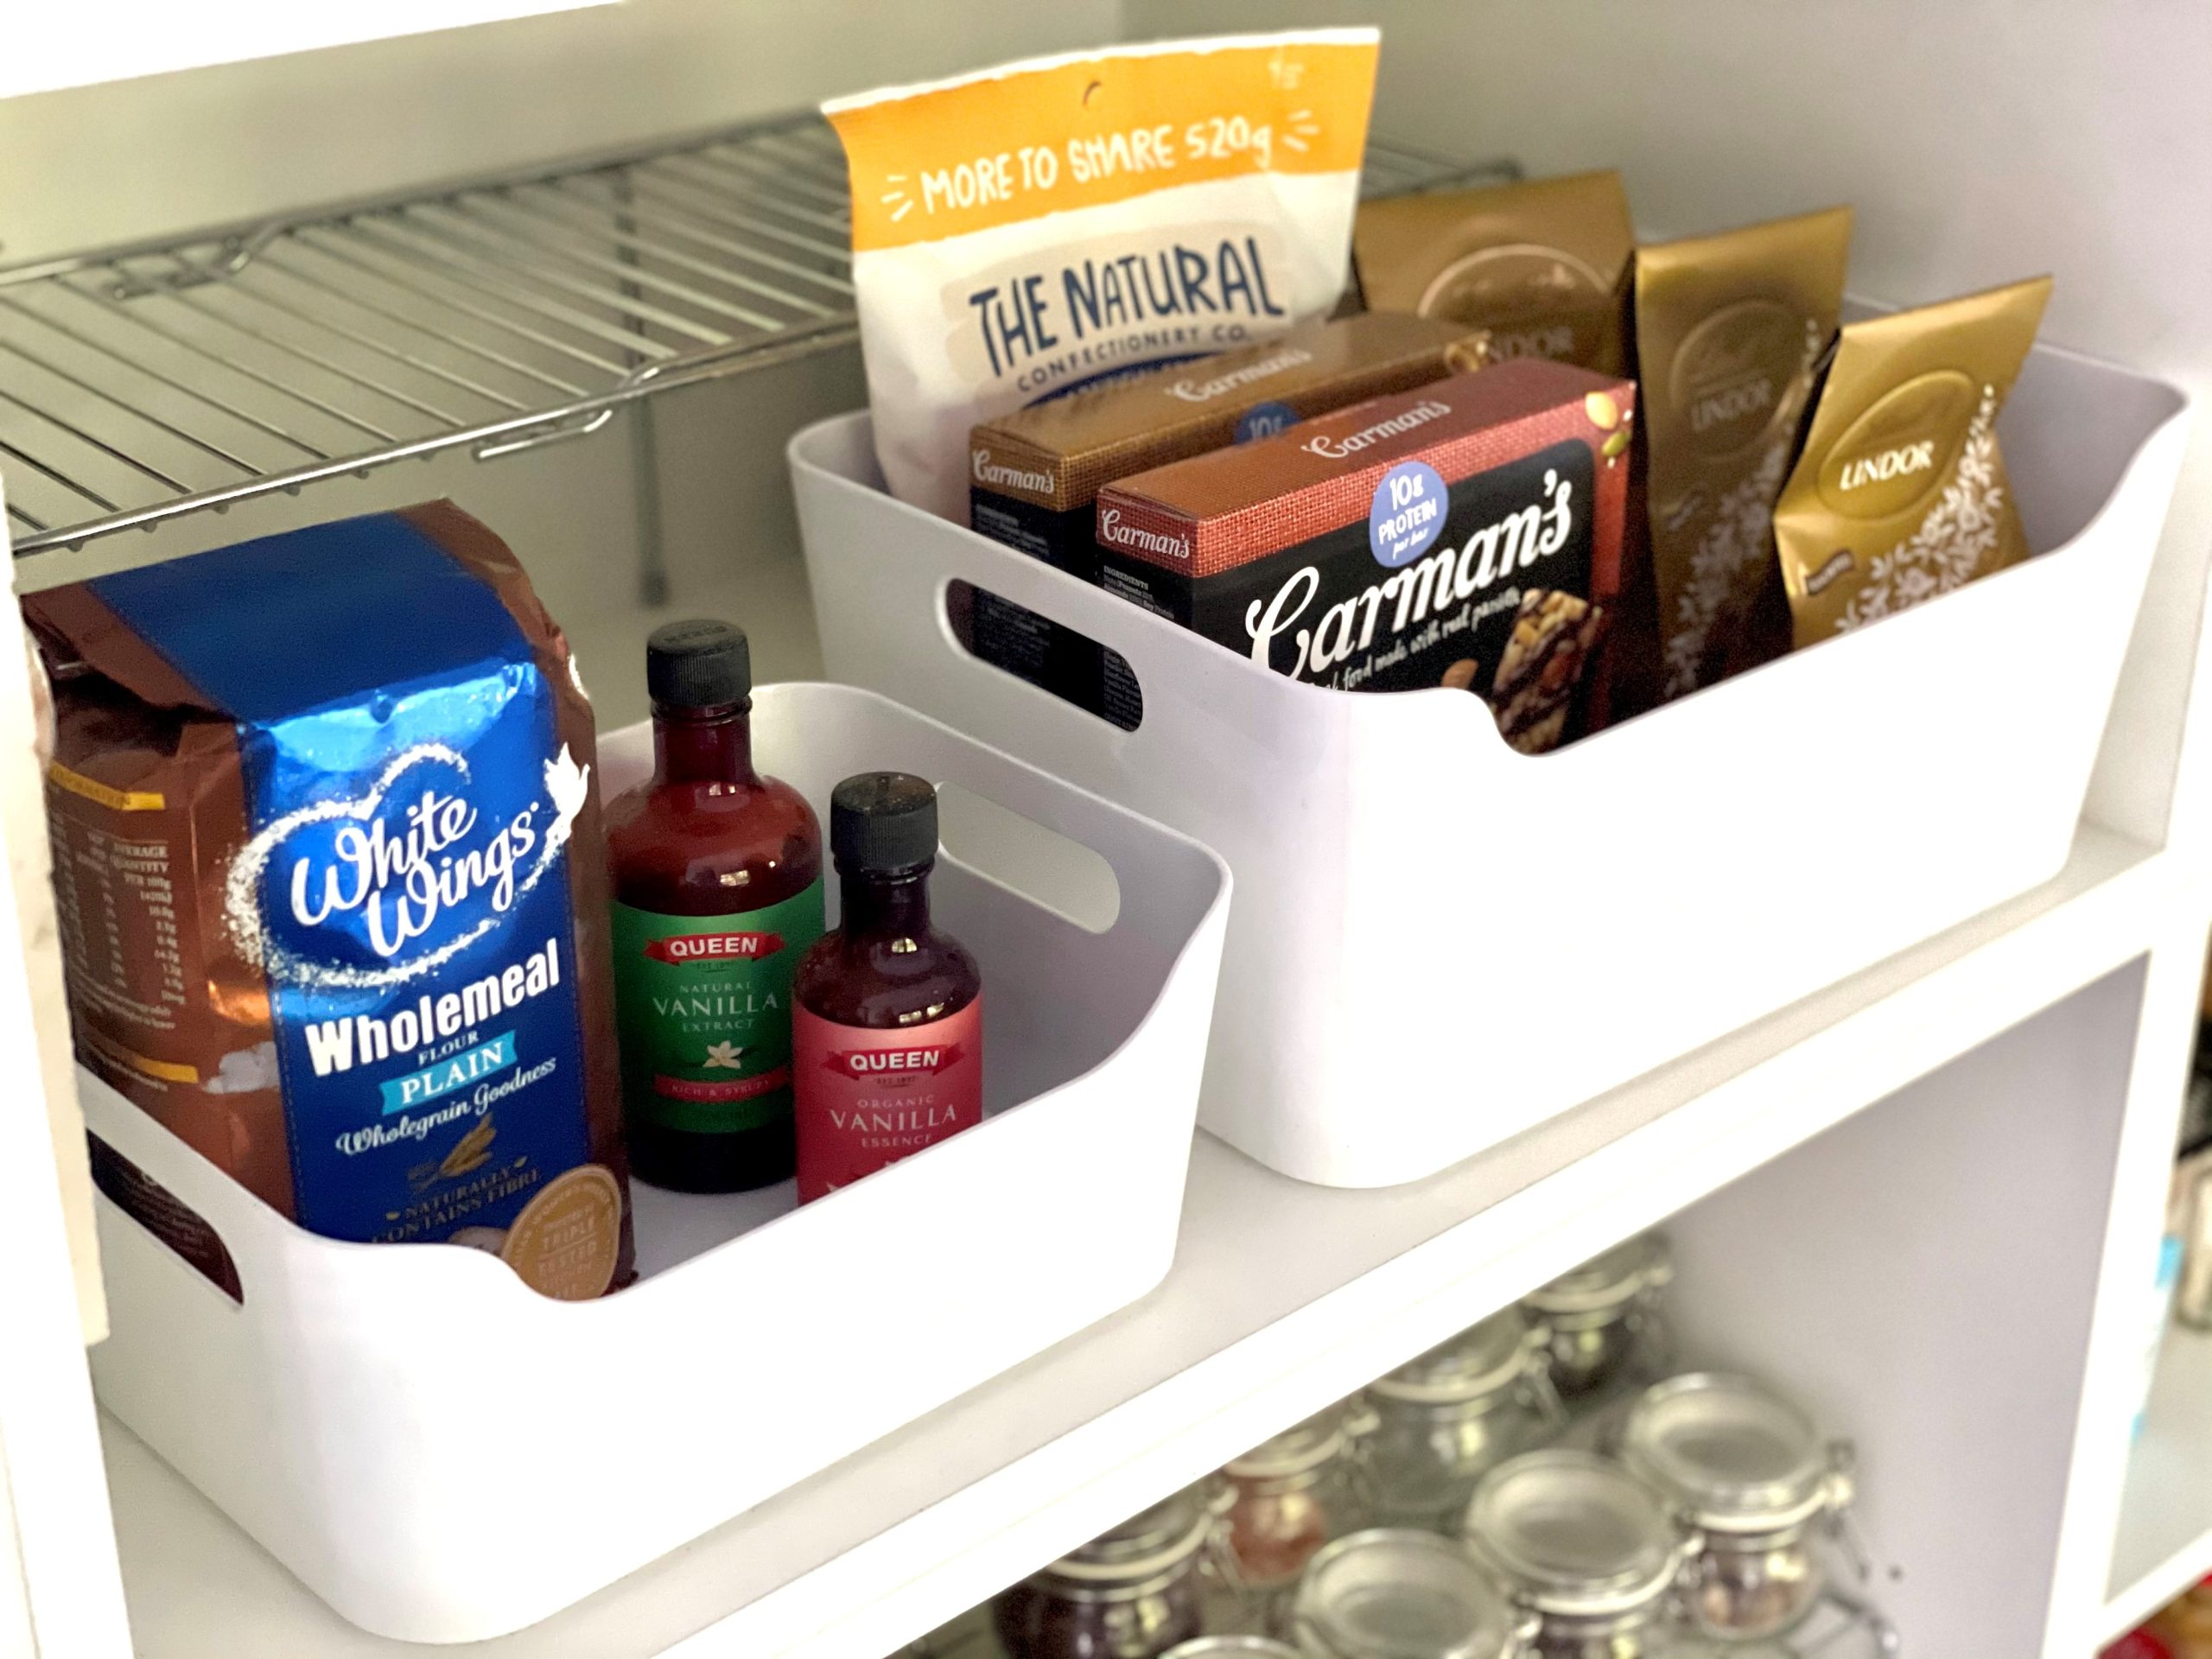
Day 5 – Spring Decluttering Challenge – Pantry Declutter
One of our favourite areas of the home to organise. Given we use this area every day, it makes sense to have a well organised and functional space.
Step 1 – Start by removing everything and checking the use by dates on all food items and throw away anything out of date.
Spring Decluttering Challenge TIP #1. Don’t forgot to start a list of items that you need to replace. There’s nothing worse when you are halfway through cooking something and you realise that you threw that ingredient out last week.
Step 2 – Next, identify items that you don’t think you will use and bin them.
Step 3 – Wipe out your pantry with warm soapy water and dry thoroughly.
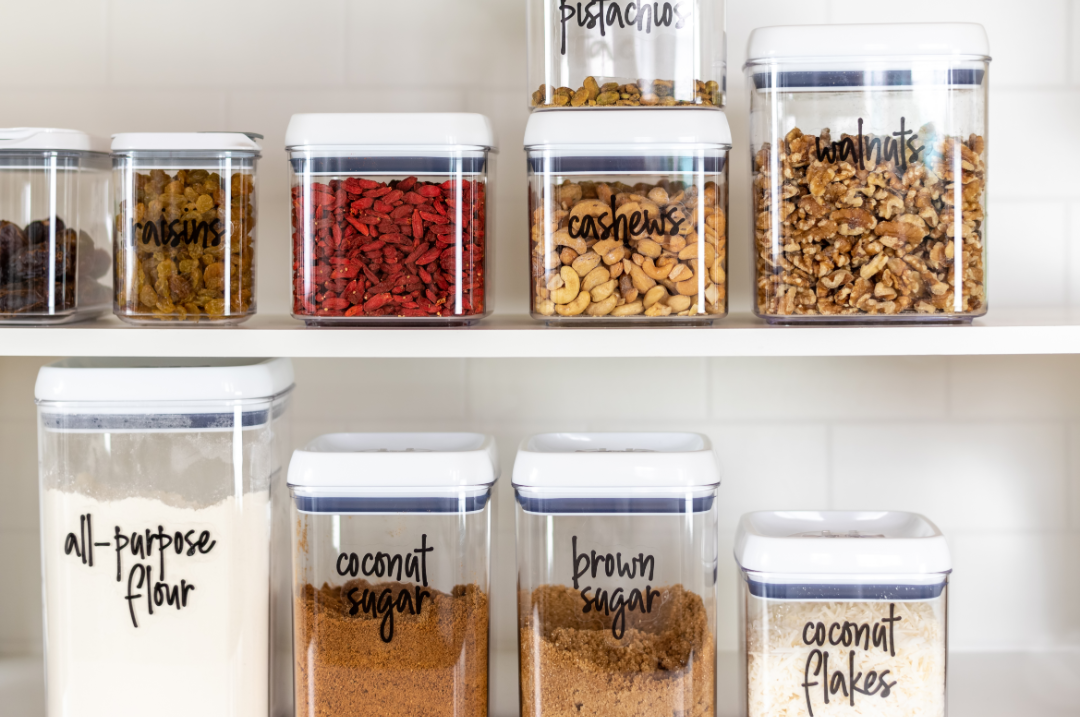
Step 4 – Finally, set up zones or areas in your pantry, grouping like items together and put items that you use the most at the front and easily accessible.
Now is also the perfect time to think about better ways to store and display pantry items. Consider purchasing some containers to help you sort them into categories. Plastic tubs, baskets or Lazy Susan’s are great to help keep things organised. And, if you don’t have labels on your containers, then now is the perfect time to pop some on.
Day 6 – Garage Spring Declutter Challenge
Often we place items in the garage that we no longer need or use inside the home, and they stay in the garage for years or until we move house! So know is the time to go through big items that are taking up valuable space and think about whether you will ever use these again or whether family members have outgrown them. You may be able to sell items like extra furniture, kid’s bikes, scooters or ski gear that has been outgrown. You can also check out your local Facebook pages for groups like “Buy, Swap and Sell”, “Buy Nothing” or “Things for Free”. Otherwise you might be time to organise a hard rubbish collection.
For more garage organising tips, check out this blog.
Day 7 – Laundry Declutter
Usually the laundry isn’t too bad, unless the laundry/utility room is your dumping ground for things that don’t have a home or place to put them. Spend 30 minutes removing anything that doesn’t belong in there and make sure it’s put back into a place with other like items. Now its time to give the washing machine seal a good wipe out. The dirt that disappears from your clothes, towels and sheets has to go somewhere! Your washing machine might also harbor leftover detergent, hard-water deposits and mildew around the lid. That means grime can build up inside your washing machine over time.
To ensure your freshly washed clothes and linens are as clean as possible, follow these steps on how to clean a washing machine. These instructions work for cleaning front-loading and top-loading washing machines, but it’s worth checking if your particular brand has any special requirements.
If your washing machine has a self-clean function, choose that cycle and follow the manufacturer’s instructions to clean it. If it does not, then follow these steps.
Step 1 – Run an empty, regular cycle on hot, using two cups of white vinegar instead of detergent which you add to the detergent dispenser. And don’t worry about harming your machine, as white vinegar will not damage clothes. The hot water-vinegar combo removes and prevents bacteria growth. Vinegar can also act as a deodorizer and cut through mildew odours.
If you have a top-loading washer, you can pause the machine during the hot-water cycle. Allow the tub to fill and agitate for about a minute, then pause the cycle for an hour and let the vinegar soak, then empty. You could also add some lemon juice to the water.
Step 2 – Wipe down the machine’s exterior using a damp cloth and the vinegar water solution. To prevent Mold or mildew growth, leave the door open for a few hours after each wash to let the moisture dry out.
Step 3 – Do a deep clean and use a toothbrush to scrub hard-to-reach spots around the lid and under the rim of the tub. And don’t forget your dryer. Wipe over your dryer especially where lint can accumulate.
We hope that our Spring Decluttering Challenge has been useful. For other great home organisation, decluttering or styling tips see our other BLOG articles.