Spring Declutter Challenge

Welcome to our Spring Declutter Challenge which kicks off on Saturday 23rd of September.  All you need is 30 minutes a day (60 minutes if you can) to declutter and refresh as many of those potentially ‘unorganised’ or ‘cluttered’ spaces in your home. Good Luck!


Day 1- Drop Zones

These are the places where we leave things such as paperwork or bills to attend to at a later date such as the kitchen bench or a drawer in the kitchen or office. So here’s our 3 step process to quickly clear this area:

Step 1 – Spend 30 minutes going through old paperwork or bills and decide whether you need to keep them anymore.

Step 2 –  Throw away/shred anything you no longer need and recycle old newspapers and junk mail.

Step 3 – Think about whether you could organise the space differently by using different storage options like a magazine file for paperwork, intray or a box to keep all the incoming bills and mail in.

Officeworks has a great range of magazine/file holders in beautiful colours! Check out their full range here.


Day 2 – Fridge Declutter

What is lurking in the back of your fridge? Today is the day to go through, shelf by shelf and take out all the items, check the used by dates and throw away anything that’s out of date. Then, do a  deep-clean of the interior of your fridge with warm soapy water to wipe out any residue or spilt food you might have missed. 

Spring Decluttering Challenge Tip # 1: Baking soda is known to catch and absorb odours so fill up a little bowl and pop it in the fridge too.

Next, place food back in the fridge once checked and remember to keep a list of things that were thrown out and you need to replace.

Spring Decluttering Challenge TIP #2: Create an “Eat me first” section. This works well to reminder you to eat food items before their expiry dates. It’s also handy to keep them at eye level, so they are easy to spot. Don’t forget to store items in air-tight containers too as this will keep them fresher for longer. And remember to give the outside of the fridge/freezer a good clean as well.

If you get into the habit of doing a quick wipe out of your fridge each week, before you pop all your fresh weekly shopping in there, you’ll find it cuts down on this cleaning time.


Day 3 – Bathroom Declutter

Spend 30 minutes going through your bathroom drawers, cupboards and throwing away anything that you no longer use. Pay particular attention to your makeup drawer or makeup storage area and if you have time to give the makeup brushes a wash, even better!  Don’t forget to give the drawers and cupboards you’ve decluttered a good wipe out as well.

How long should you keep makeup for? 

Here is a list of common makeup products and their suggested expiry dates as recommended by Choice. To read the full list from Choice, click here.

  • Eyeliners and pencils:Pencil eyeliners are a typically wax-based product and should have no bacterial contamination but keeping them sharpened will help to keep them clean.
  • Face and body moisturisers:Unopened, three years. Opened, six months.
  • Hairstyling products:Three to five years. Most use alcohol in the formulation, which acts as a preservative. If non-aerosol and no alcohol is listed on the label, then treat as shampoos (see below).
  • Lipstick and gloss: Unopened, five yearsOpened, 12 months.
  • Makeup foundation:Unopened, three years. Opened, six months.
  • Mascara and liquid eyeliner(brush in vial): Unopened, three years. Opened, three months.
  • Nail polish:Unopened, three years. Opened, six months.
  • Nail polish remover:Useable indefinitely.
  • Oils and serums: Unopened, three years. Opened, six months.
  • Perfumes and aftershaves: Unopened, five years. Opened, 12 months, for best composition. For best longevity, keep them in a cool place away from bright, direct light.
  • Self-tanning lotions: Unopened, three years. Opened, six months.


Day 4 – Wardrobe Declutter

A spring declutter challenge would not be complete with getting in and tackling your wardrobe. Now, you are probably going to need more than 30 minutes on this declutter though.

Start with the hanging section in your wardrobe first and go through item by item. Do you have items that you have not worn in the past 12 months. Perhaps you need to ask yourself the following question – If someone asked you to attend a party, function, coffee catch up or work function – would you wear that item? Consider giving the item to charity or a friend who might make use of it if you don’t think you will wear it. And, if you are holding onto an item because it was expensive, then consider selling the item on a platform such as Facebook Marketplace or a luxury second hand clothing retailer.

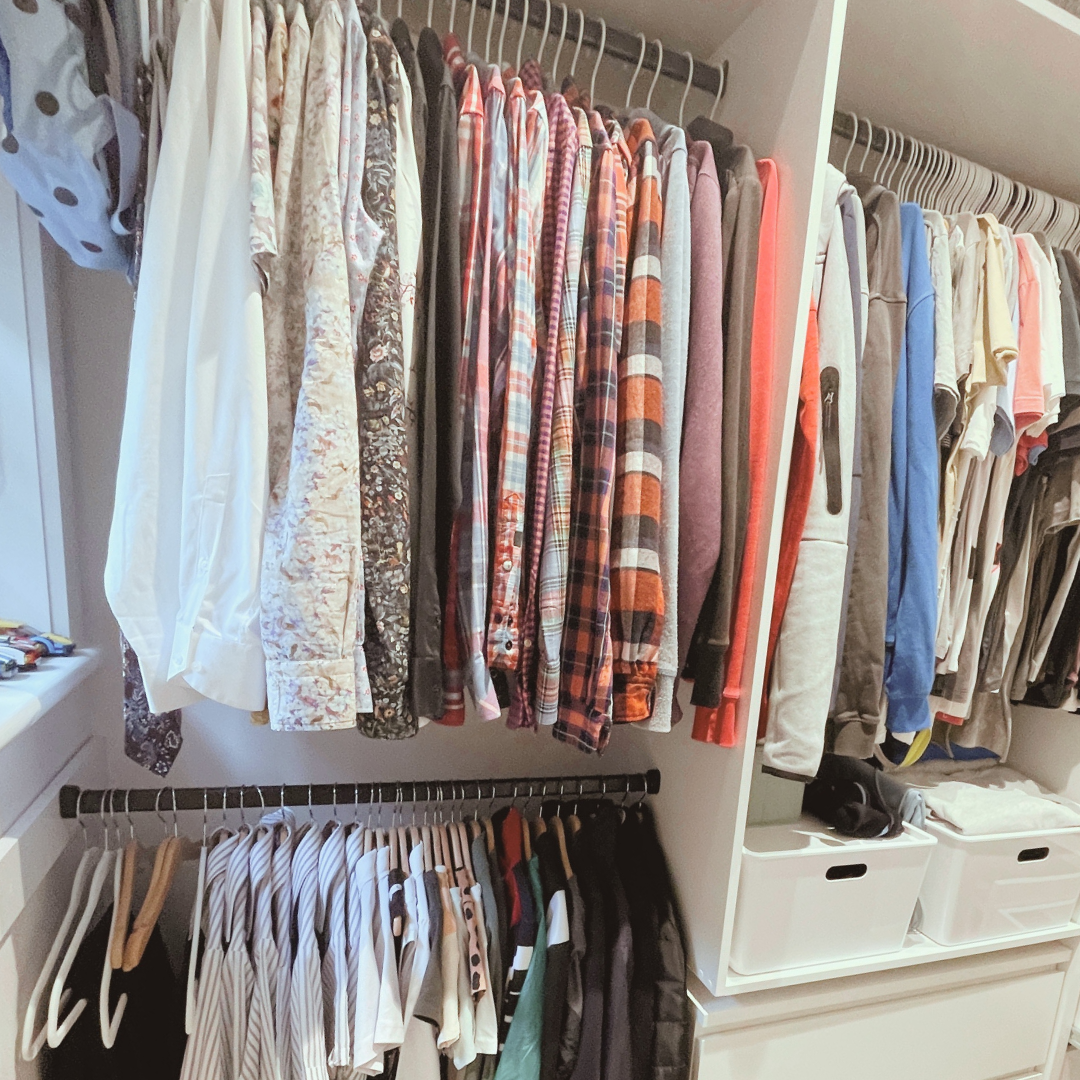
Next, put things back in the wardrobe and group like items together and colour block them i.e., put all white shirts together and so on.you can do the same process for your folded items too.

Spring Decluttering Challenge TIP # 1 Bag up all your unwanted items and pop them straight in your car ready to drop off at our local charity. The last thing you want is them making there way back into your wardrobe!

Now its onto your underwear and sock drawer to see if there is anything you can immediately throw away based on the condition of the item. You could also look at utilising some storage containers to help keep items more organised if you don’t already have containers. And if you live in a sunny location, perhaps its time to remove big heavy jackets or winter clothing items that won’t be worn till next year. You could pop them in a space bag and store elsewhere and rotate your wardrobe making summer items more accessible.


Day 5 – Spring Decluttering Challenge – Pantry Declutter

One of our favourite areas of the home to organise. Given we use this area every day, it makes sense to have a well organised and functional space.

Step 1 – Start by removing everything and checking the use by dates on all food items and throw away anything out of date.

Spring Decluttering Challenge TIP #1. Don’t forgot to start a list of items that you need to replace. There’s nothing worse when you are halfway through cooking something and you realise that you threw that ingredient out last week.

Step 2 –  Next, identify items that you don’t think you will use and bin them.

Step 3 – Wipe out your pantry with warm soapy water and dry thoroughly.

Step 4 – Finally, set up zones or areas in your pantry, grouping like items together and put items that you use the most at the front and easily accessible.

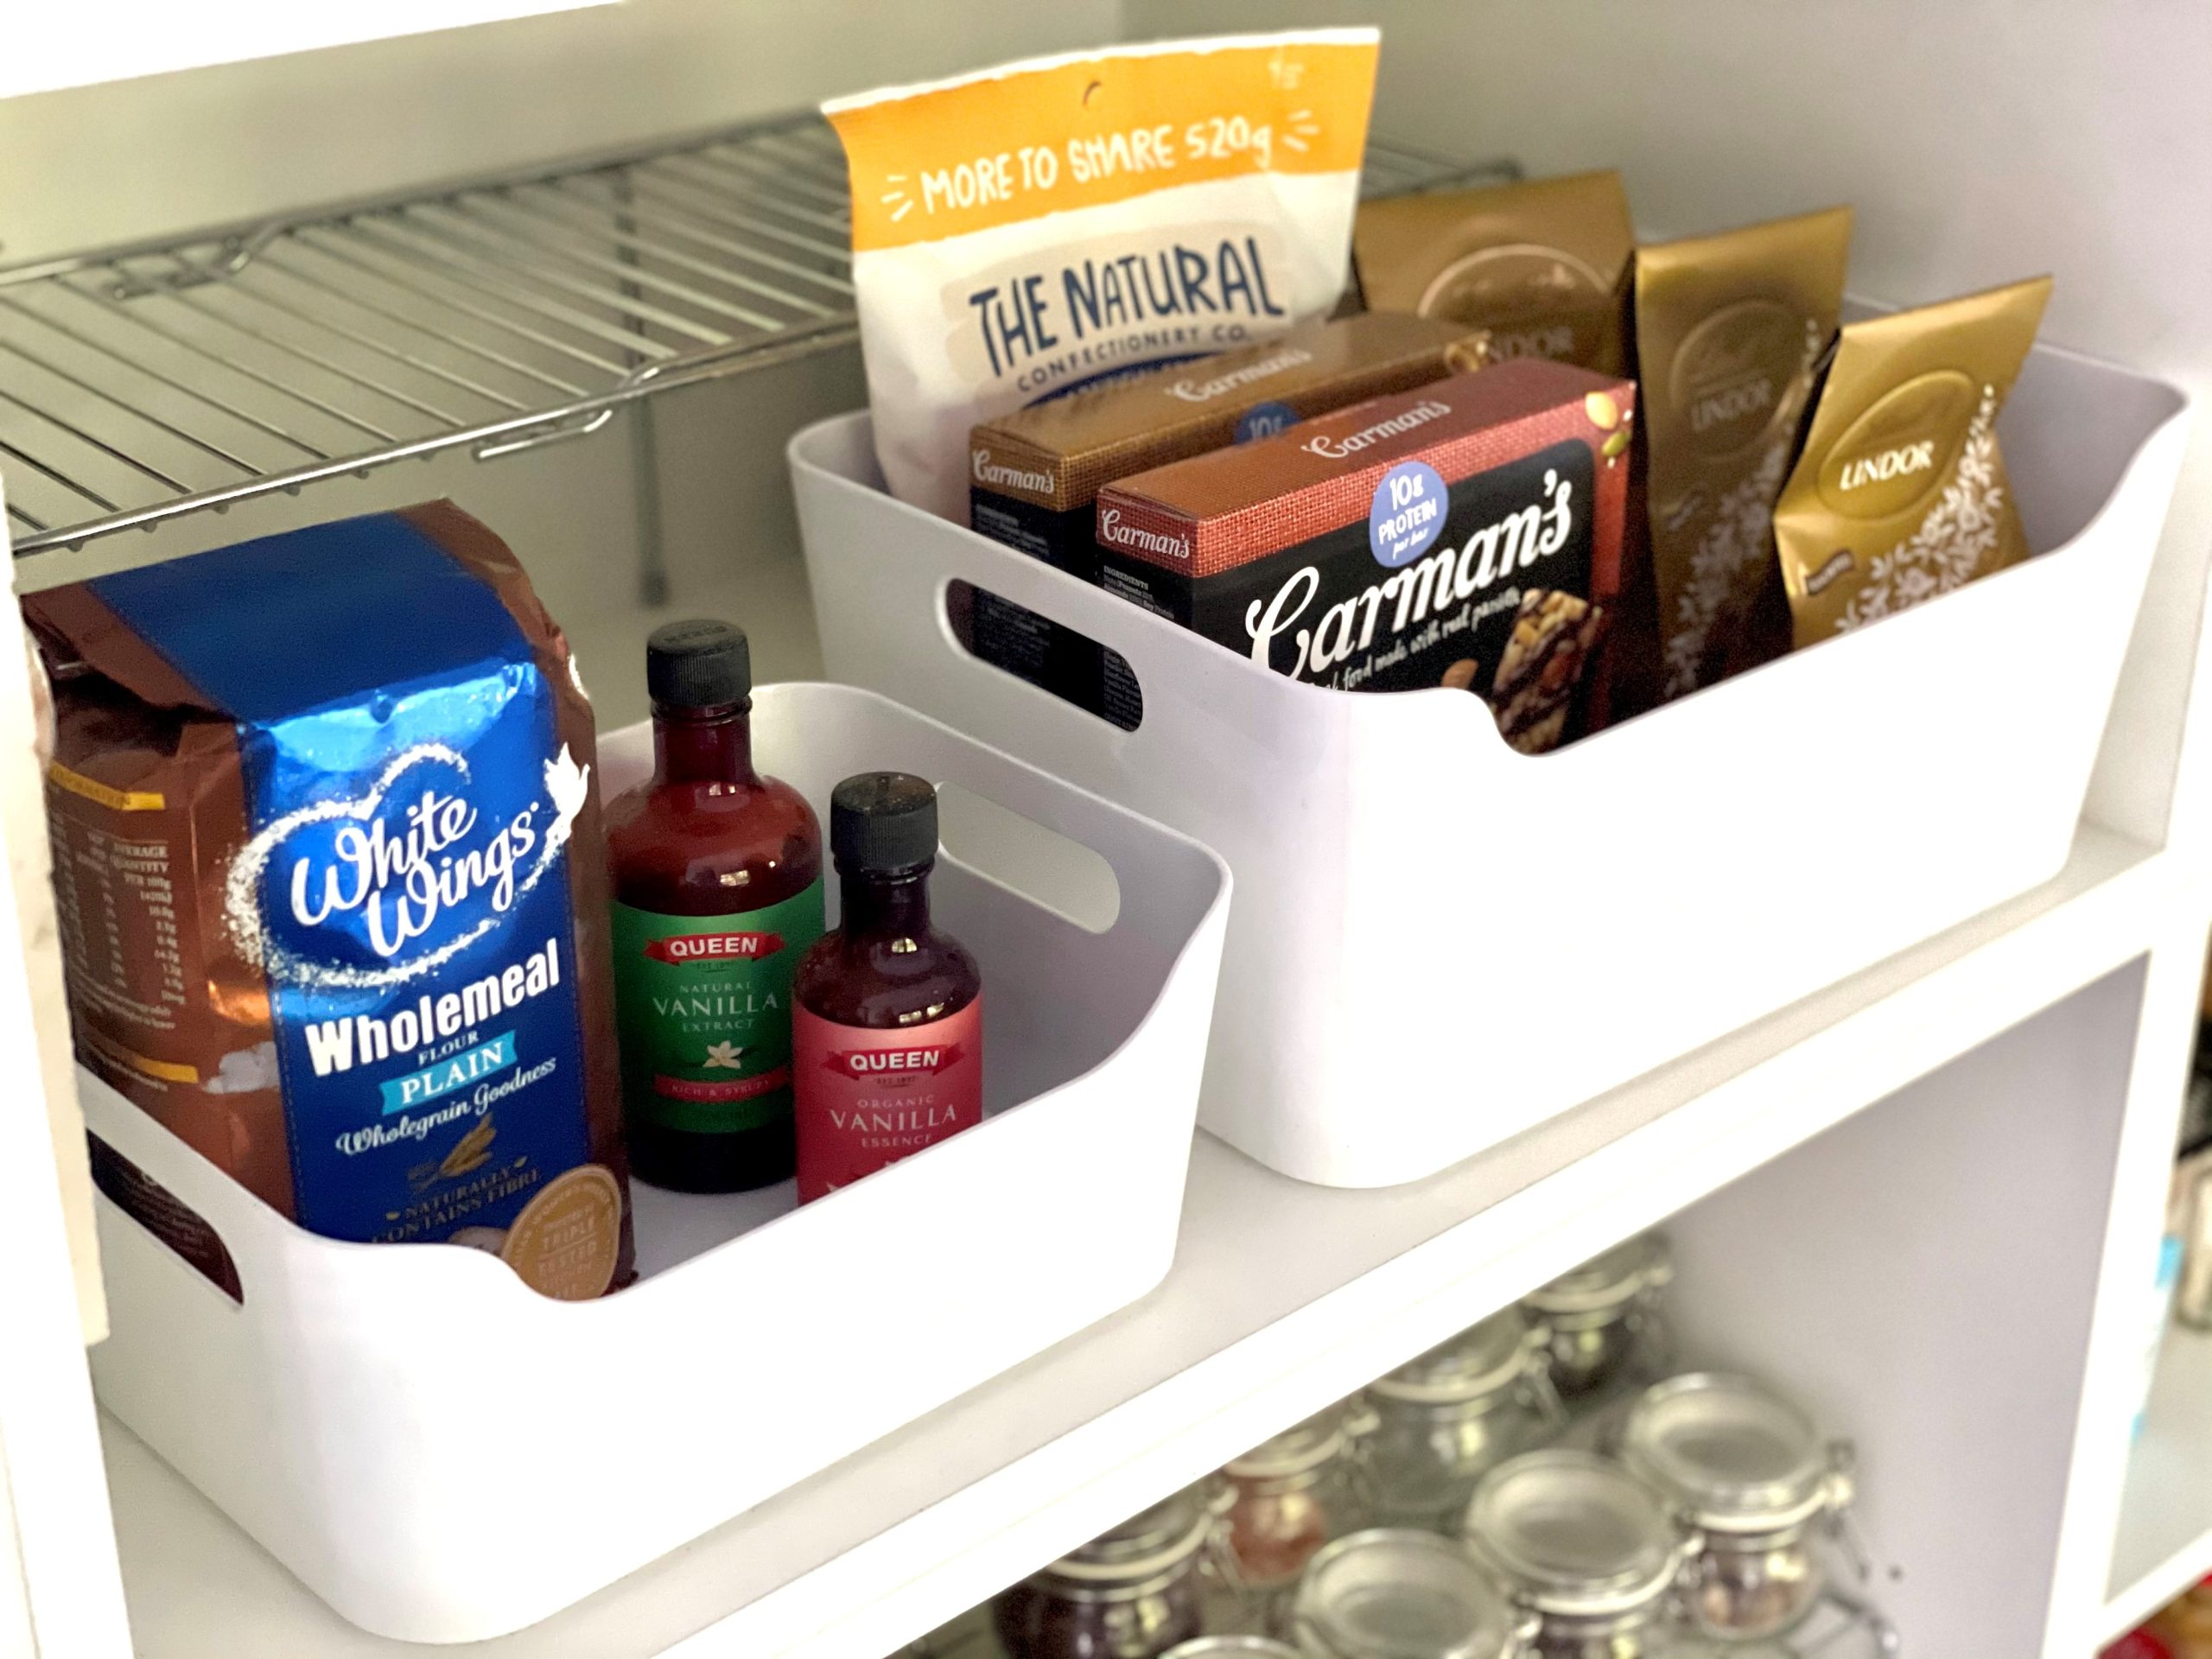
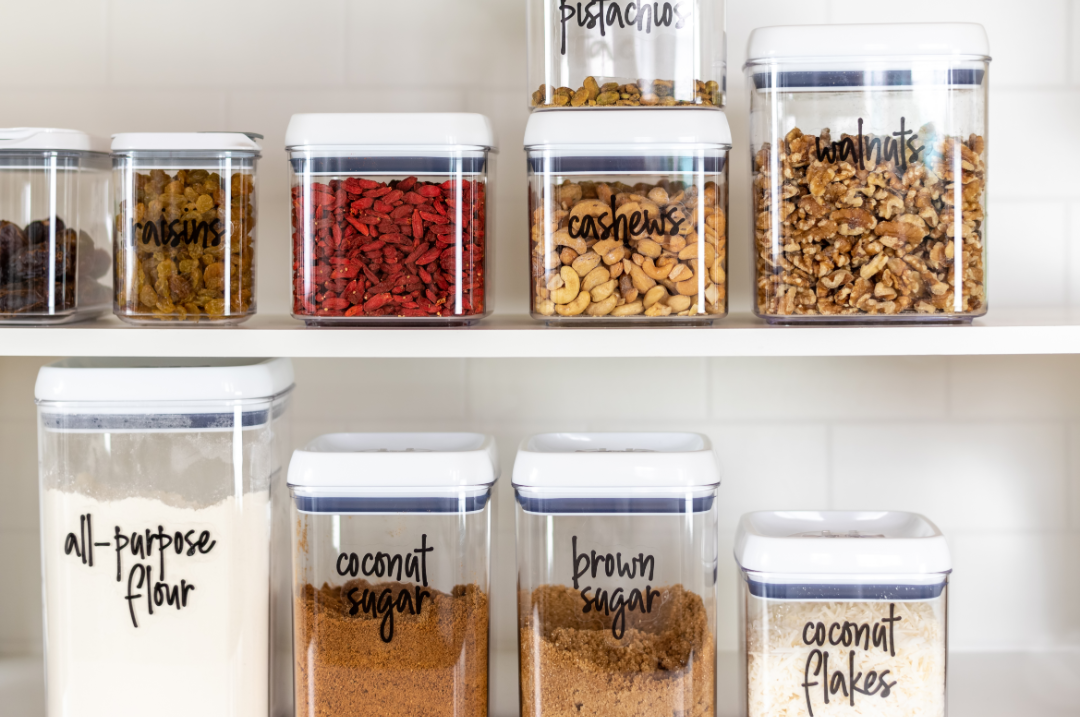
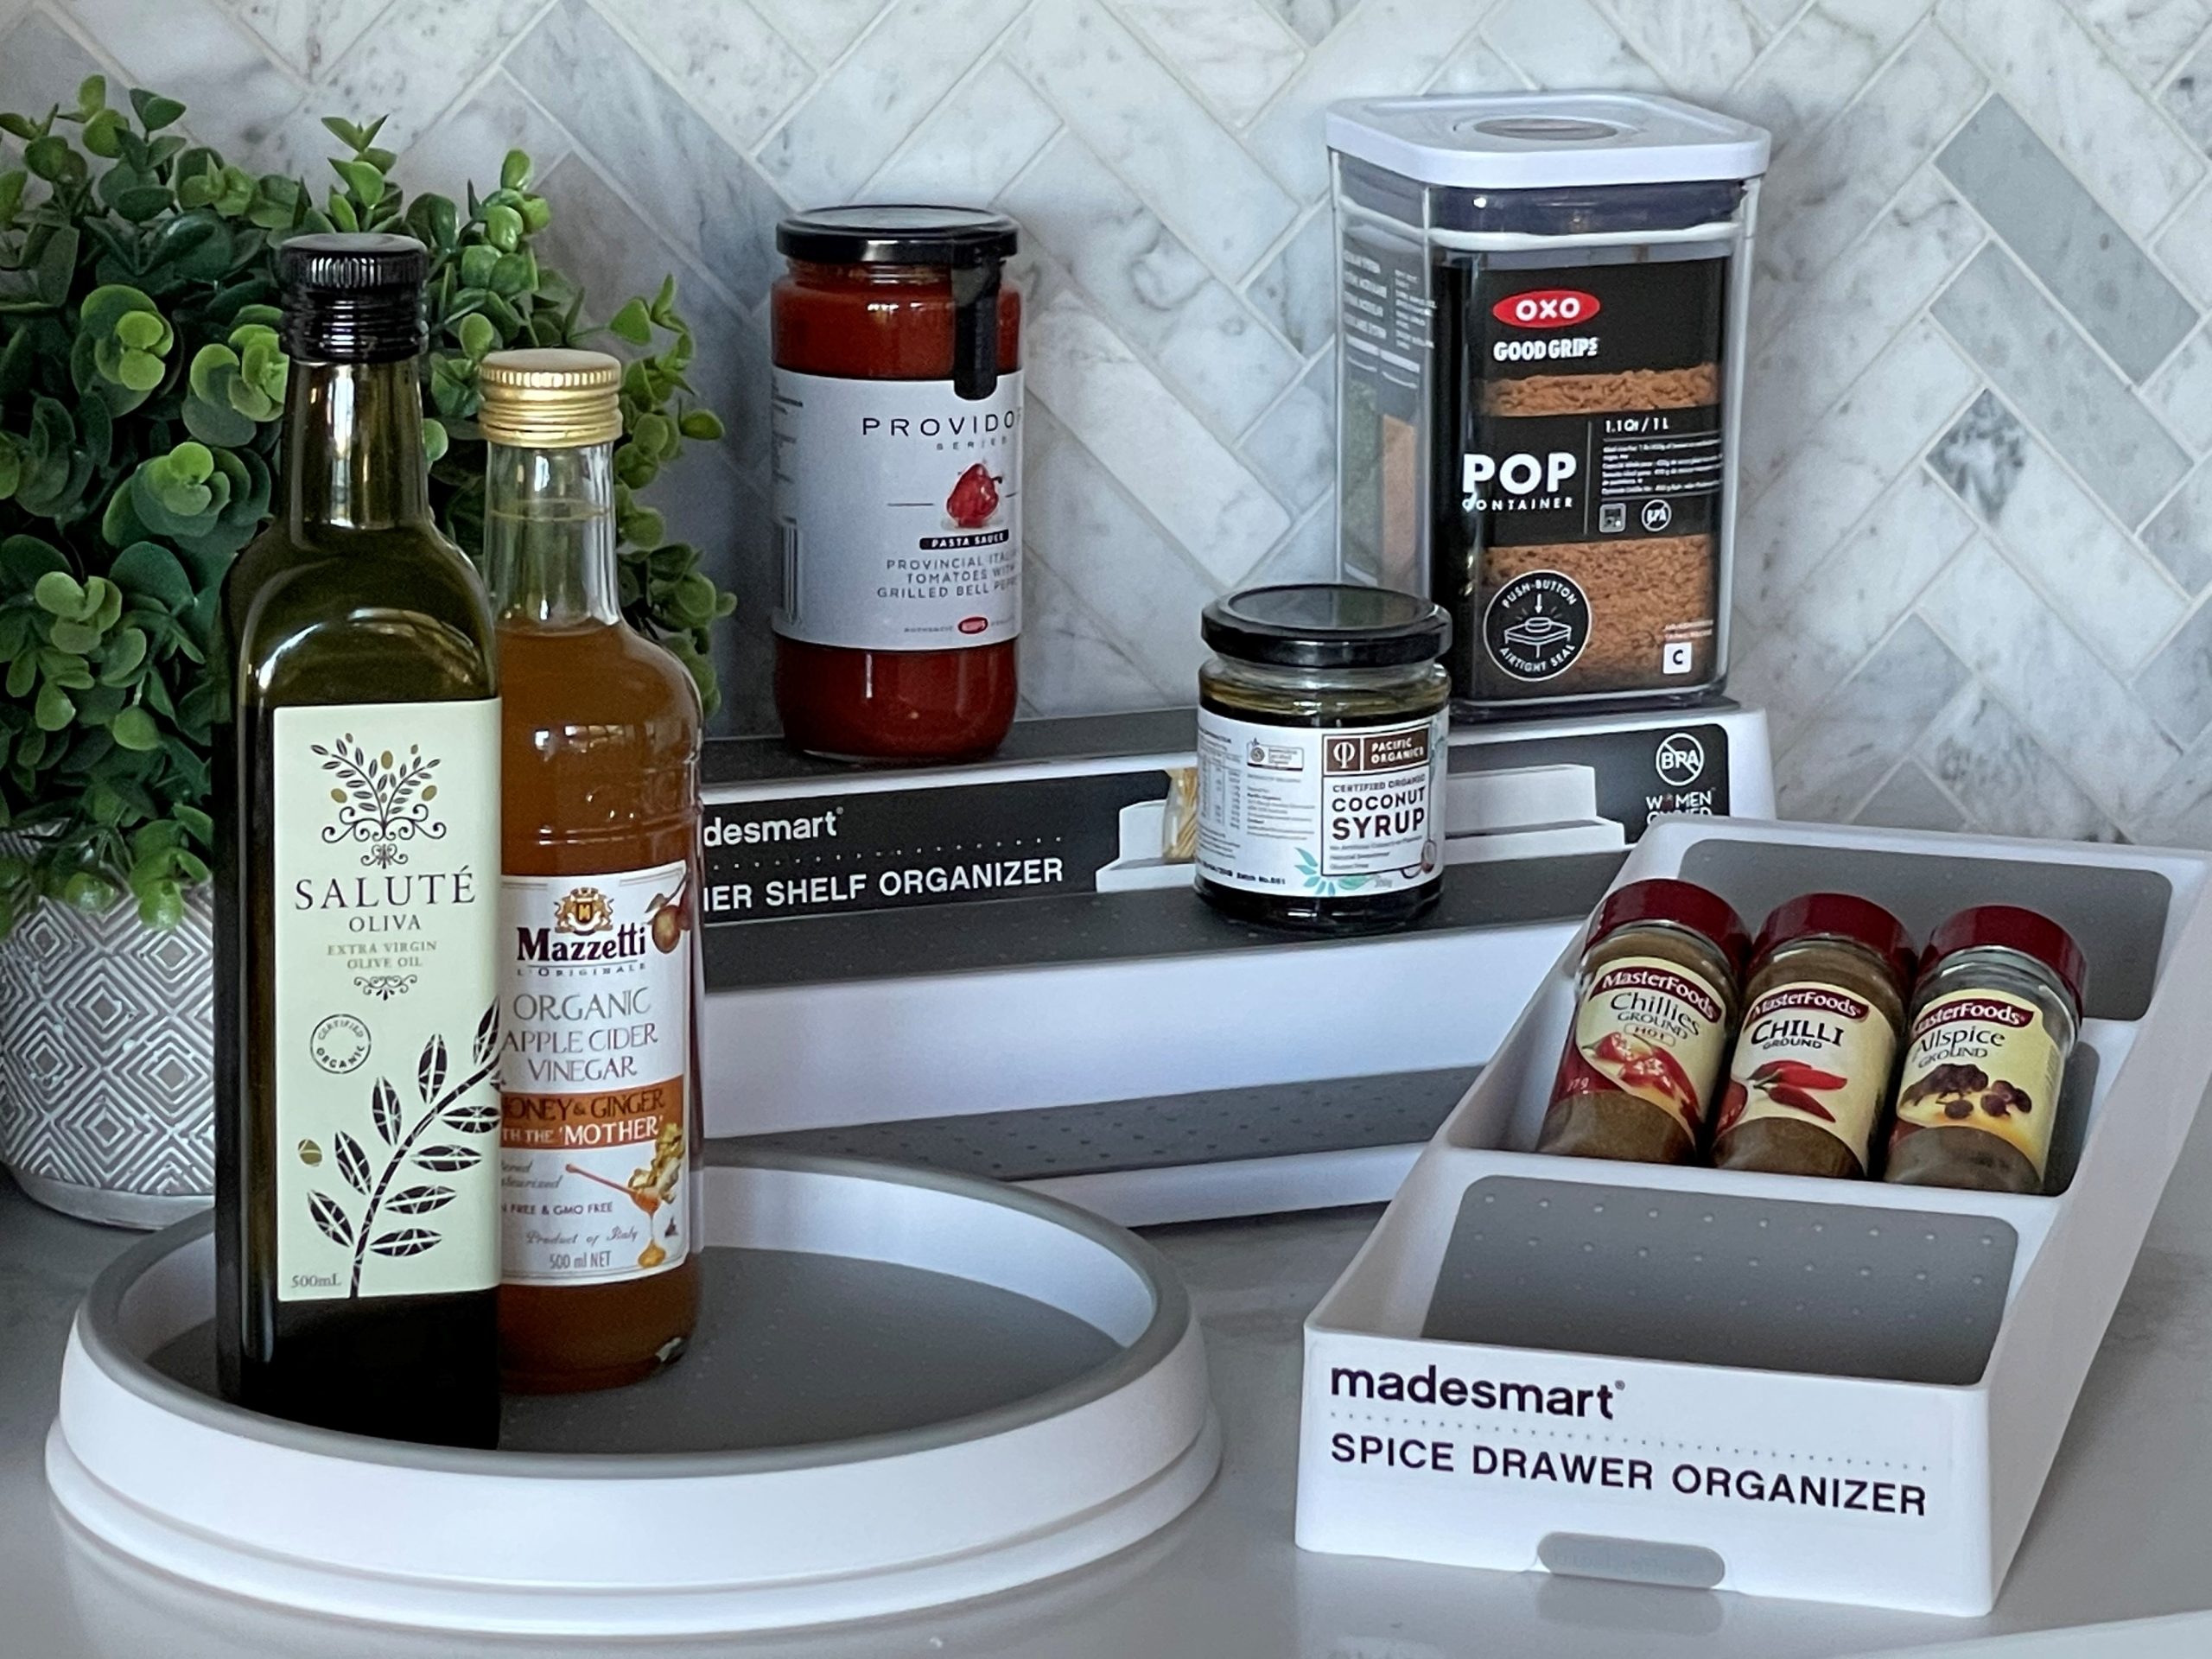
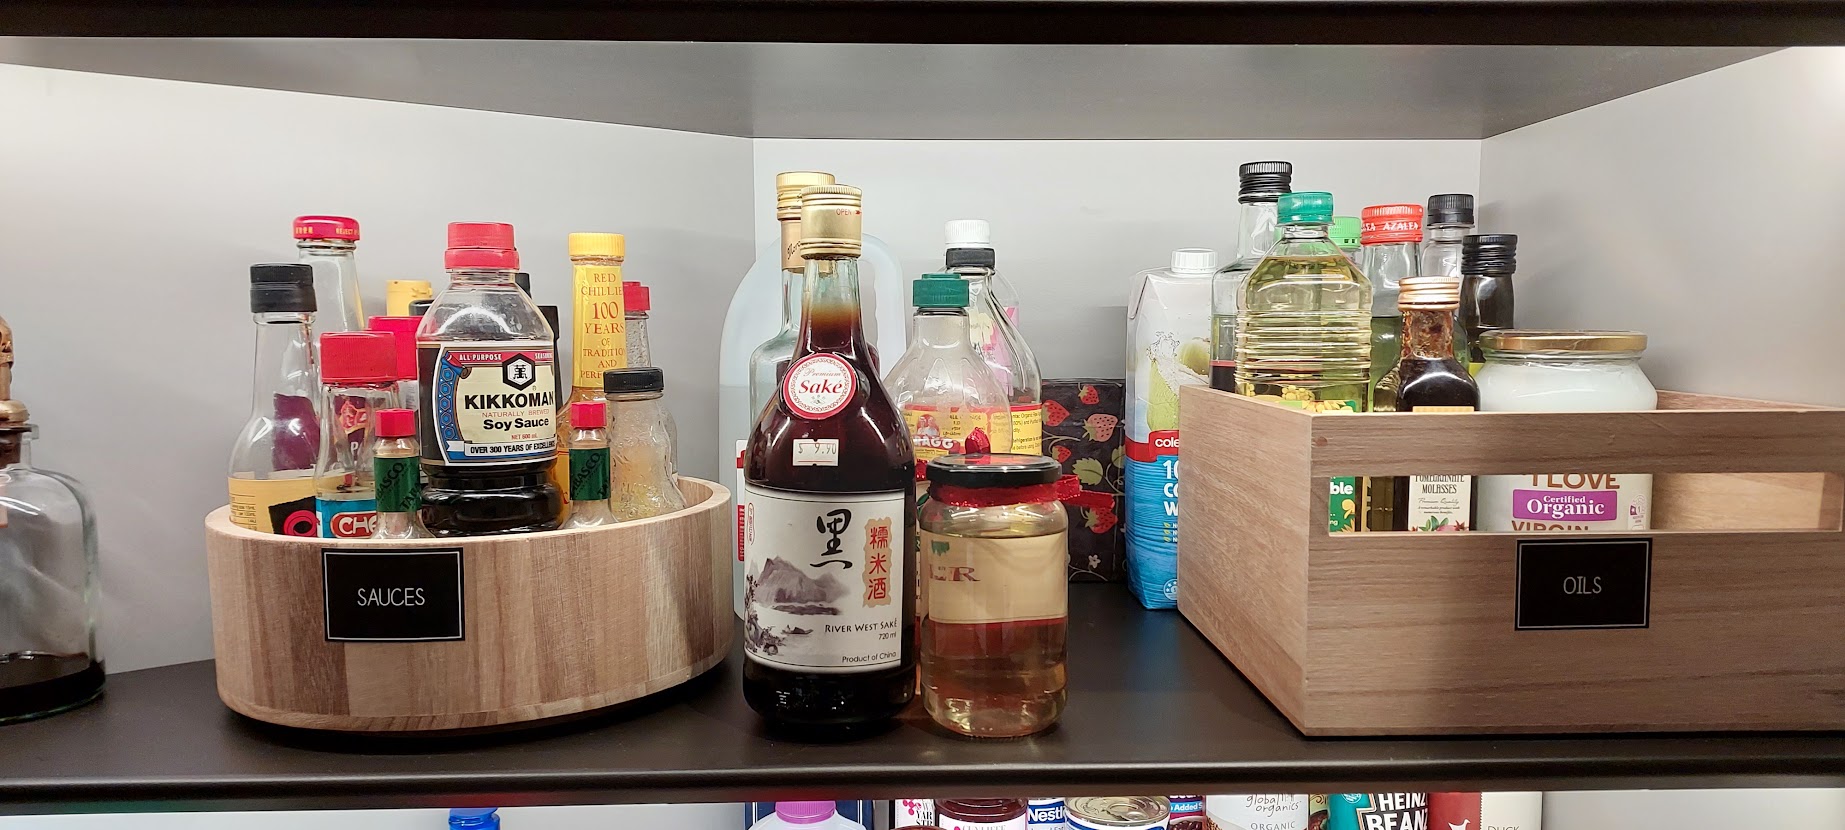
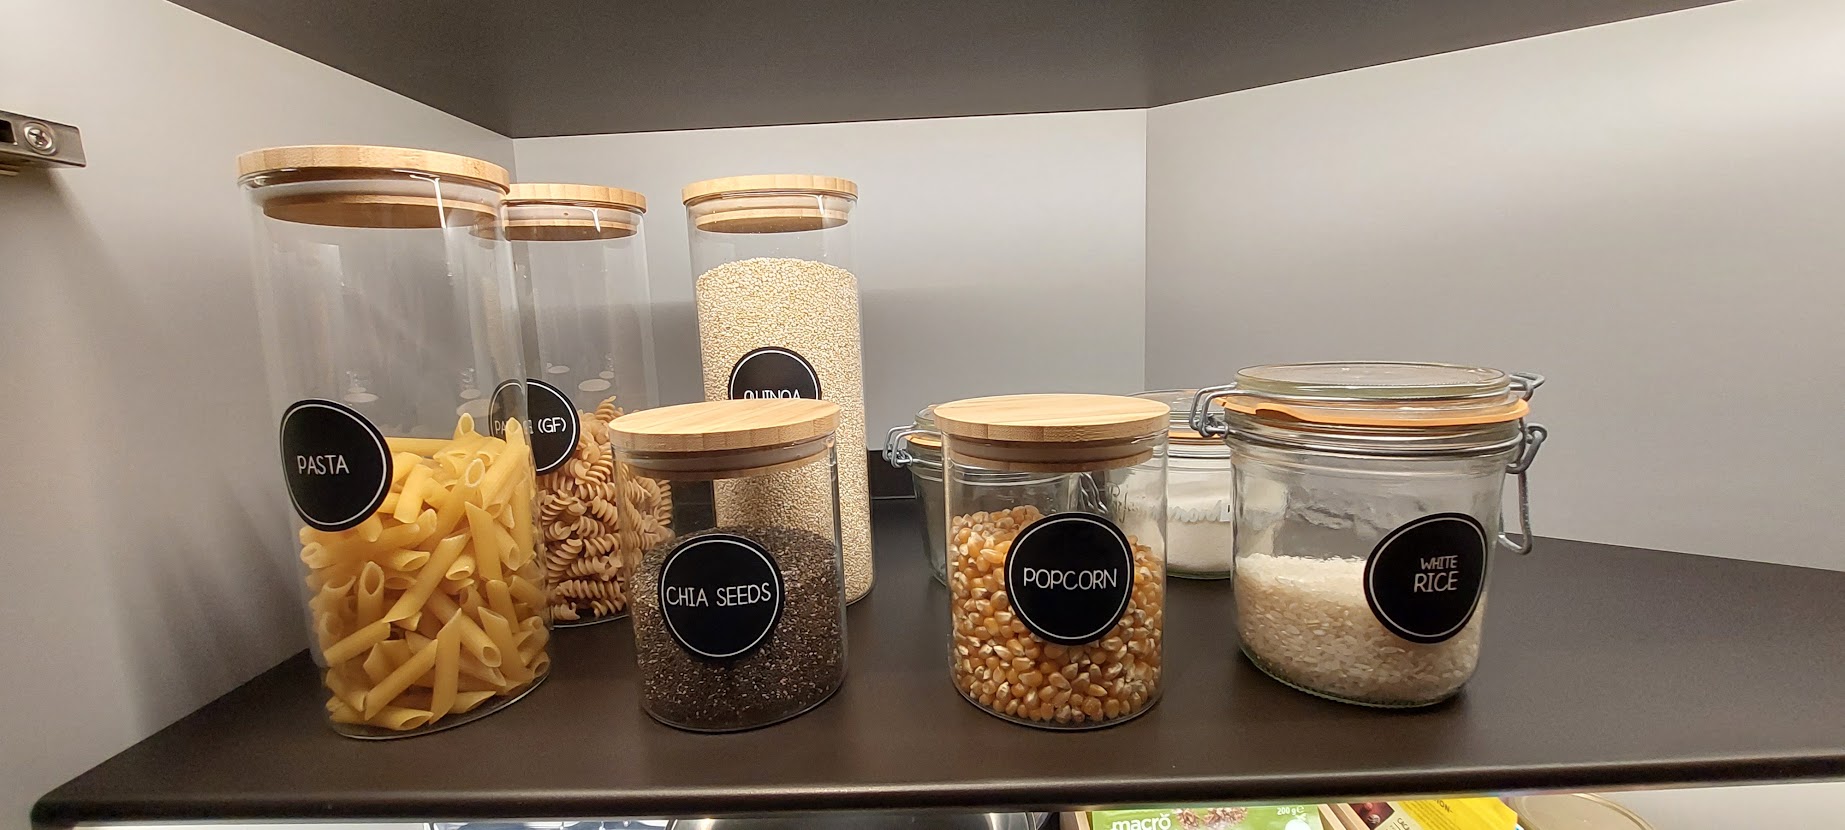
Now is also the perfect time to think about better ways to store and display pantry items. Consider purchasing some containers to help you sort them into categories. Plastic tubs, baskets or Lazy Susan’s are great to help keep things organised.  And, if you don’t have labels on your containers, then now is the perfect time to pop some on.


Day 6 – Garage Spring Declutter Challenge

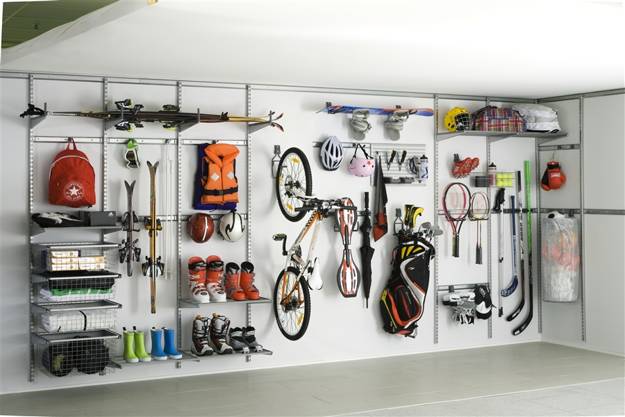
Often we place items in the garage that we no longer need or use inside the home, and they stay in the garage for years or until we move house! So know is the time to go through big items that are taking up valuable space and think about whether you will ever use these again or whether family members have outgrown them. You may be able to sell items like extra furniture, kid’s bikes, scooters or ski gear that has been outgrown. You can also check out your local Facebook pages for groups like “Buy, Swap and Sell”, “Buy Nothing” or “Things for Free”. Otherwise you might be time to organise a hard rubbish collection.

For more garage organising tips, check out this blog.


Day 7 – Laundry Declutter

Usually the laundry isn’t too bad, unless the laundry/utility room is your dumping ground for things that don’t have a home or place to put them. Spend 30 minutes removing anything that doesn’t belong in there and make sure it’s put back into a place with other like items. Now its time to give the washing machine seal a good wipe out. The dirt that disappears from your clothes, towels and sheets has to go somewhere! Your washing machine might also harbor leftover detergent, hard-water deposits and mildew around the lid. That means grime can build up inside your washing machine over time.

To ensure your freshly washed clothes and linens are as clean as possible, follow these steps on how to clean a washing machine. These instructions work for cleaning front-loading and top-loading washing machines, but it’s worth checking if your particular brand has any special requirements.

If your washing machine has a self-clean function, choose that cycle and follow the manufacturer’s instructions to clean it. If it does not, then follow these steps.

Step 1 – Run an empty, regular cycle on hot, using two cups of white vinegar instead of detergent which you add to the detergent dispenser. And don’t worry about harming your machine, as white vinegar will not damage clothes. The hot water-vinegar combo removes and prevents bacteria growth. Vinegar can also act as a deodorizer and cut through mildew odours.

If you have a top-loading washer, you can pause the machine during the hot-water cycle. Allow the tub to fill and agitate for about a minute, then pause the cycle for an hour and let the vinegar soak, then empty. You could also add some lemon juice to the water.

Step 2 – Wipe down the machine’s exterior using a damp cloth and the vinegar water solution. To prevent Mold or mildew growth, leave the door open for a few hours after each wash to let the moisture dry out.

Step 3 – Do a deep clean and use a toothbrush to scrub hard-to-reach spots around the lid and under the rim of the tub. And don’t forget your dryer. Wipe over your dryer especially where lint can accumulate.

We hope that our Spring Decluttering Challenge has been useful. For other great home organisation, decluttering or styling tips see our other BLOG articles.

Tips for a Tidy Garage

  1. Set aside a dedicated time to declutter your garage, such as a weekend or a few evenings. This will allow you to focus on the task at hand without interruption.


  1. Start by removing everything from your garage and sorting it into different categories. This can include categories such as tools, sports equipment, gardening supplies and holiday decorations.


  1. Get rid of items that you no longer need or use. If something has been unused for over a year, it’s likely that you can do without it. Consider donating or selling items that are still in good condition.


  1. Invest in storage solutions such as shelves, cabinets and hooks to help keep your garage organised. This will allow you to keep items off the floor and create designated spaces for different categories of items.


  1. Group similar items together to make them easier to find. For example, keep all your gardening tools in one area and all your sports equipment in another.


  1. Make use of vertical space by hanging items on the walls or from the ceiling. This can include things like bicycles, ladders and tools. Utilise wall-mounted storage systems or install pegboards to maximize storage space.


  1. Label storage containers and shelves to make it easier to find what you need. This will help prevent items from getting misplaced or forgotten about.


  1. Take advantage of wall space by installing hooks or racks to hang items such as shovels, rakes and brooms. This will keep them off the floor and free up space.


  1. Create a designated workspace or area for specific activities, such as a workbench for DIY projects or a space for gardening. This will help keep your garage organised and make it easier to find and store the necessary tools and equipment.


  1. Regularly maintain and clean your garage to prevent clutter from building up again. Dedicate a few minutes each week to organising and tidying up, so you can enjoy a clutter-free space

15 Ways to Organise Your Home Office

It’s that time of year. The end of financial year is nearly here. That means it’s time to get your home office paperwork organised. So, here’s 15 ways to organise your home office. They won’t take you long, but I guarantee that if you take the time to do them you will transform your home office in no time at all.

15 ways to organise your home office

15 ways to organise your home office


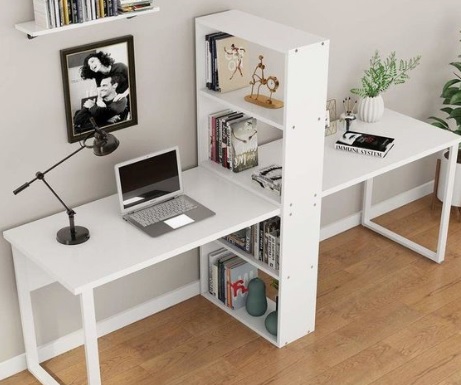
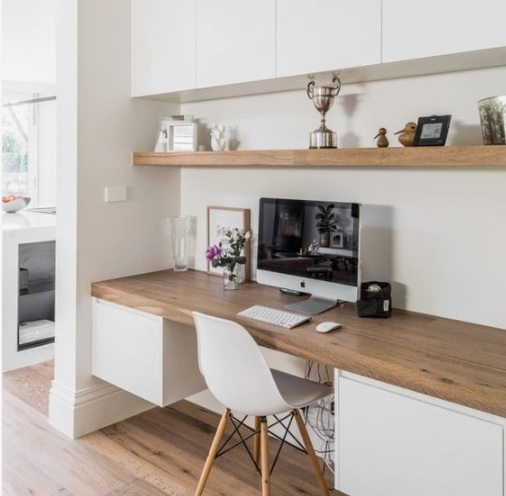
Tip 1: Start with your desk. Clear off any unnecessary items, sort through loose papers and create designated spaces for essentials like pens, notebooks and office supplies.

Tip 2: Tackle your filing system. Sort through old documents and create a system that works for you. Consider digitizing files to reduce paper clutter.

Tip 3: Organise your bookshelf. Donate or sell books you no longer need and arrange the remaining ones in a visually pleasing and accessible manner.

Tip 4: Create a designated space for incoming and outgoing mail. Set up trays or folders to sort and manage your mail effectively.

Tip 5: Assess your storage solutions. Optimize your storage by using bins, baskets or drawer organisers to keep items neat and easily accessible.

Tip 6: Declutter your computer desktop. Organise files and folders, delete unnecessary shortcuts and ensure your digital workspace is streamlined.

Tip 7: Focus on cable management. Use cable clips or cord organisers to keep cables and cords tidy and prevent them from becoming tangled.

Working From Home

Working From Home

Tip 8: Evaluate your office furniture. Determine if any furniture items are no longer serving a purpose and if so consider replacing or repurposing them.

Tip 9: Sort through office supplies. Discard dried-out pens, markers, or supplies you no longer use. Keep essentials neatly stored in containers or drawers.

Tip 10: Clear out outdated technology. Dispose of old gadgets, cables or electronic devices that are no longer functional or needed.

Tip 11: Declutter your bulletin board or whiteboard. Remove outdated notes or reminders and create a fresh, visually appealing space.


Tip 12: Evaluate your lighting situation. Ensure your workspace is well-lit with an appropriate desk lamp or overhead lighting.

Tip 13: Clean and organise your printer area. Remove any old or unused paper, refill ink or toner and create a designated spot for printing supplies.

Tip 14: Create a system for managing receipts and invoices. Consider using digital tools or apps to store and organise important financial documents.

Home Office Ideas

Home Office Ideas


Tip 15: Evaluate your office decor. Remove any items that don’t inspire you or contribute to a productive environment. Add personal touches that bring you joy.

For more tips on getting ready for tax time read this blog. Or if you reed some help to get your home office paperwork organised, then contact us.


8 Tips To Get You Back Into The School Routine

The holidays are done. School is back and the routine has started. Is anyone else struggling to get back into routine? I think we have come out of COVID lockdowns, then packed everything into last year. Then, when we finally stopped for Christmas holidays, we really stopped. And, it has been extra hard trying to get back into the school routine (even after a few weeks)ol. So, if you are like me and have found it hard getting back into routine here is 8 tips to get you back into routine.

Sunday Session

My preparation for the week starts on a Sunday. Each Sunday I spend a few minutes planning out my week. I have a weekly planner that I put on the fridge, so everyone knows what’s happening and when. All the kid’s activities and classes are listed along with anything else happening for the week. I also list down what we are having for dinner every night. Spending a few minutes on a Sunday always ensures a more organised week. And I know when I don’t do my planning on a Sunday, I inevitably miss something during the week.

Organise your Schedule

In addition to a more detailed weekly planner you should also have a 12 month planner as well. If you haven’t previously done one, it’s not too late to find a planner that suits you. You may prefer a paper planner, a shared online calendar or an app for your phone or tablet. Whichever you choose, start off right by entering times and commitments you already know about.

Pack for Weekly Activities

As mentioned above I list all the kid’s’ activities on my weekly planner. I then ensure all their uniforms are ironed and together on a Sunday. (For my son’s basketball gear, I use one of those combination coat hanger with clips, so his basketball shorts are already on the hanger with his top – so, there’s no last minute panic to find the right shorts).

For the swimming bag, the towels and bathers are put straight back in there after they have been washed. As our swimming lessons are at 5pm I also pack their change of clothes (PJ’s given the time) in the bag as well. That way, I’m not running around madly on swimming night trying to find their gear.

Prepack

Put all the items you’ll need out the night before. This goes for the kids stuff too. School bags are packed, shoes are cleaned and out and their hat is in their bag. Oh, and don’t forget their socks too. This helps avoid that last minute rush too.

Lunch Prep

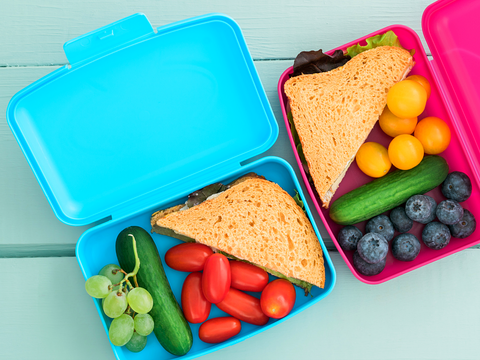
Start prepping lunch boxes the night before, by packing any fruit and snacks. I generally like to make sandwiches fresh in the morning though, but if everything else is done, then it saves me time. Don’t forget to fill the kids water bottles and pop in the fridge the night before too.

After School Snacks

School Lunch Box

Organise School Lunch Boxes


If the kids are going straight to sport activities after school, pack those snacks separately so you can take them with you when you pick up the kids.

Double Batch your Cooking

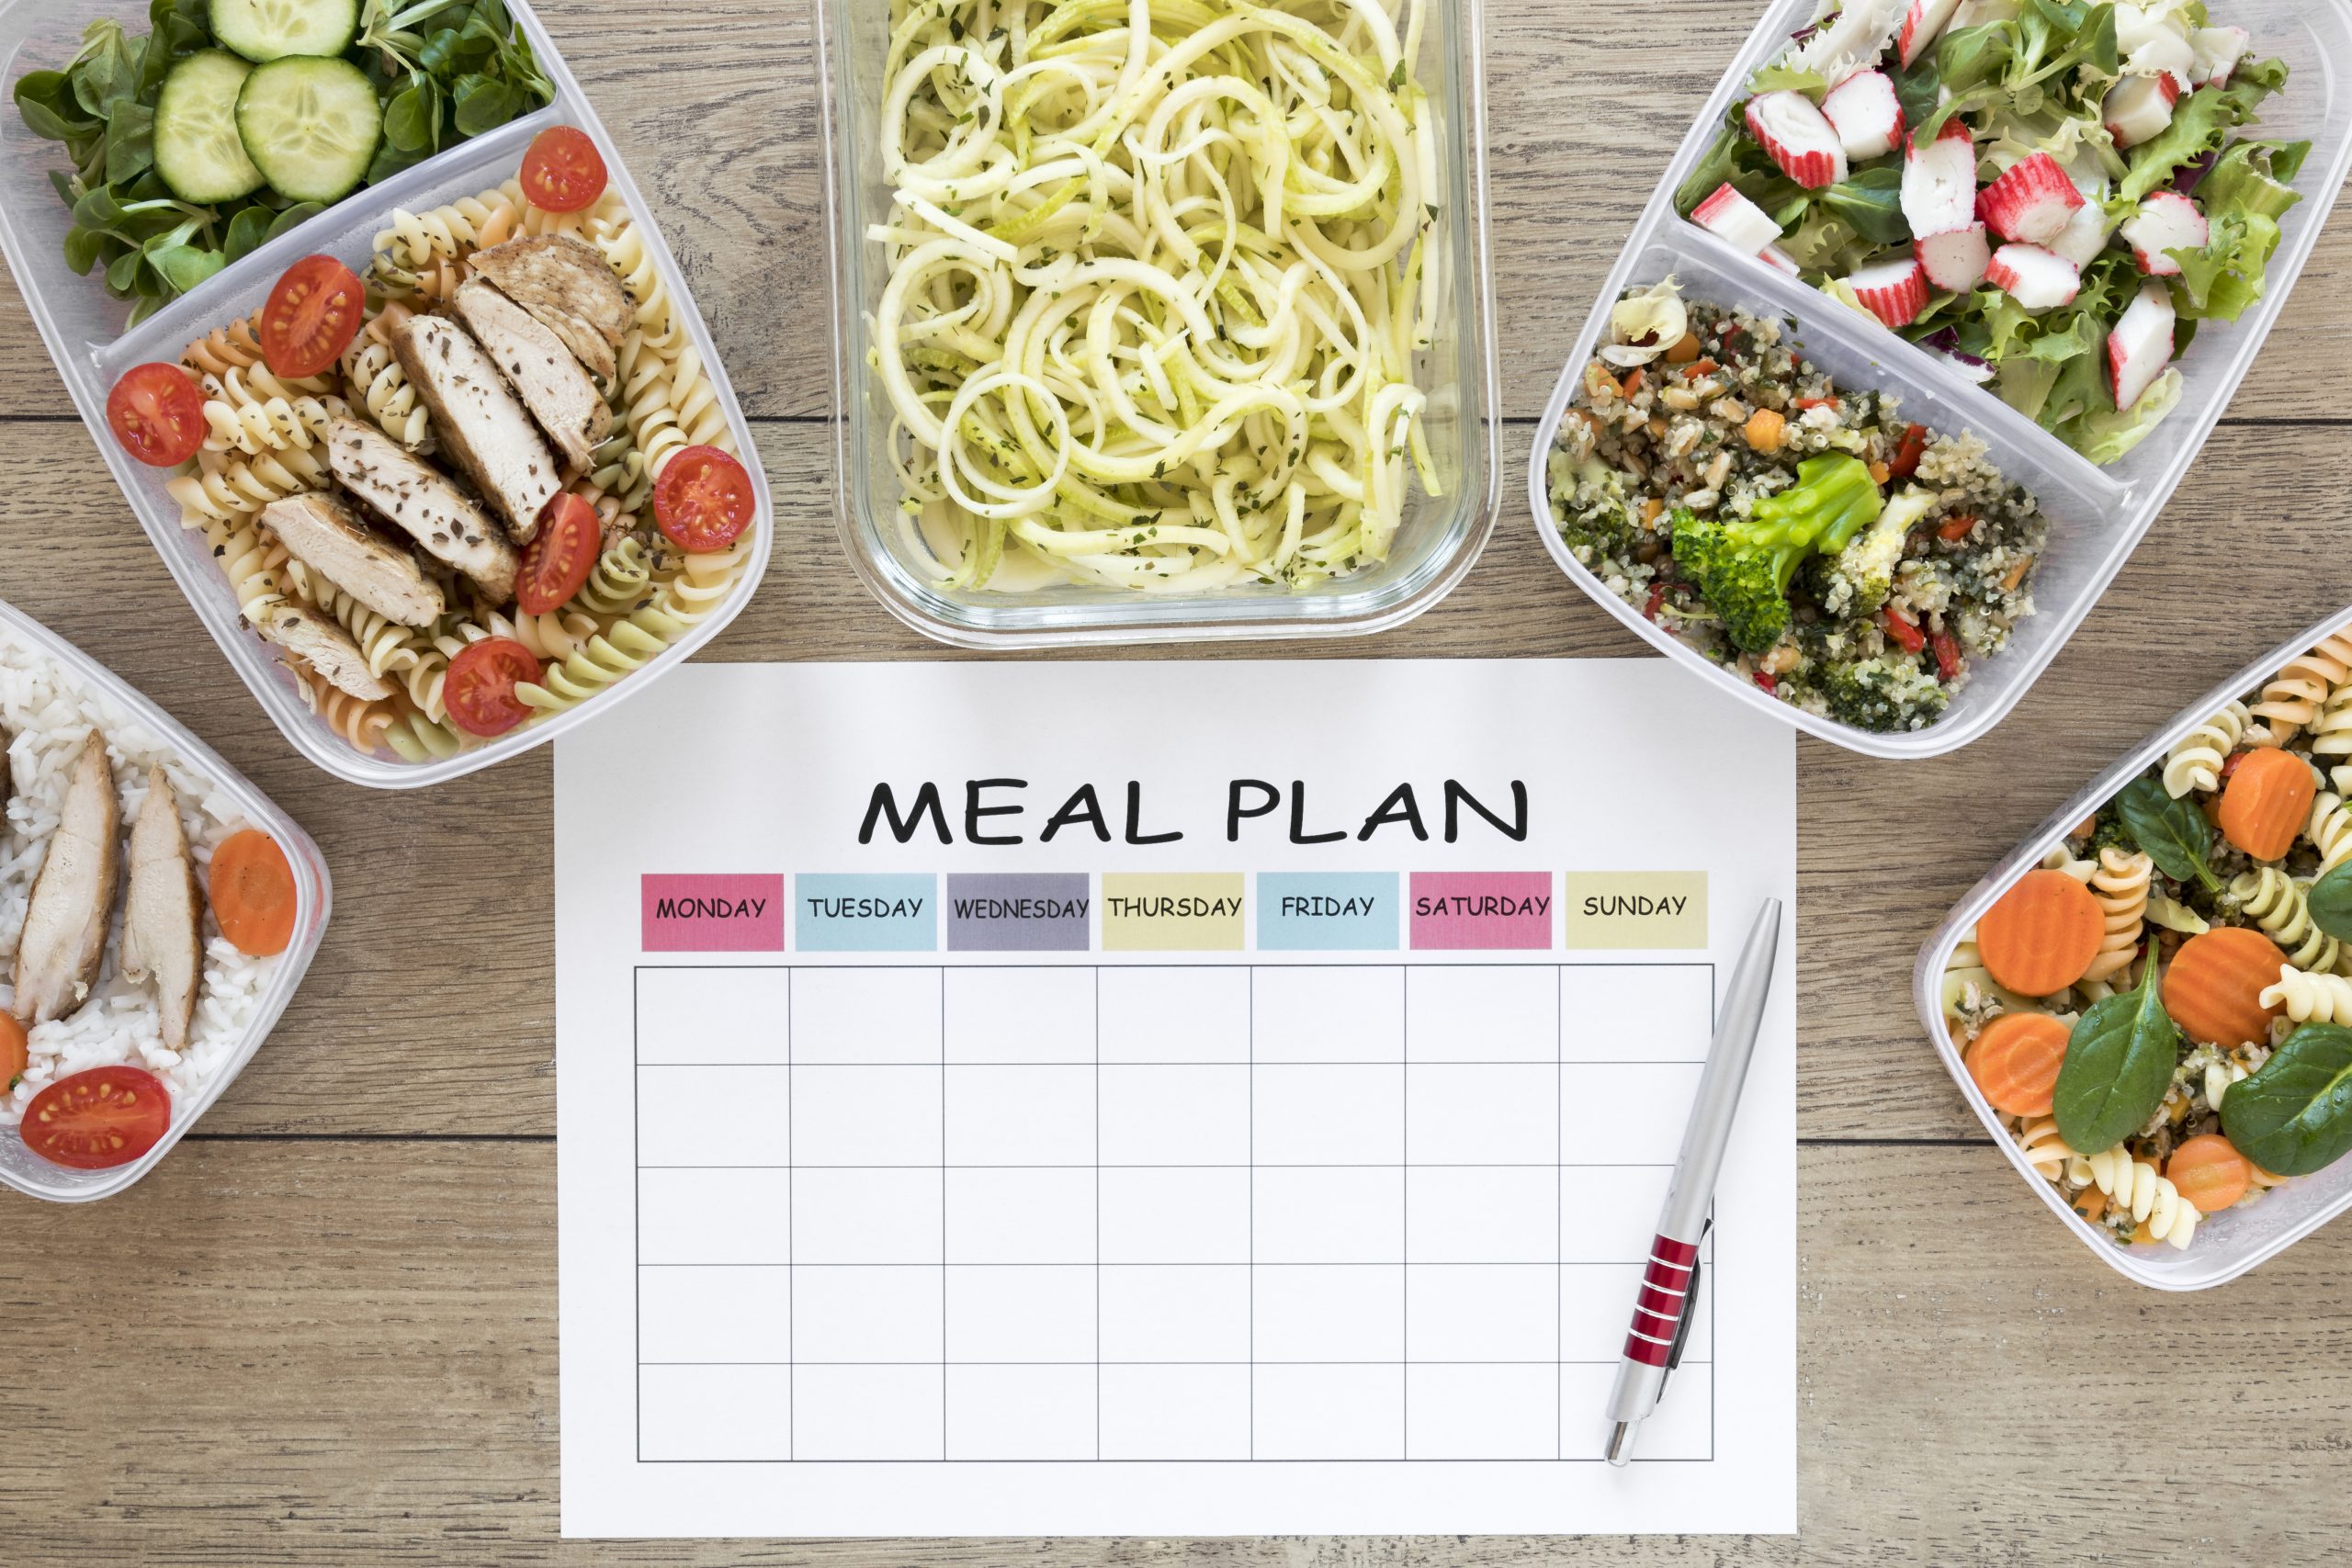
I love having a few pre-prepared meals in the freeze. This is perfect for those busy weeks. So, when I cook something like lasagne I do a double batch, eating one that night for dinner and freezing the other. Last week I starting doing “triple batches” so I have a nice stock pile of Meatballs and Lasagna. Highly recommend. Need a meal planner checklist. Check out this one. Need more inspiration on meal planning, then click here.

Get Up 10 Minutes Early

8 Tips To Get You Back Into The School Routine

Of the 8 tips to get you back into the school  routine I think getting up 10 minutes early can make a massive difference. Even if it just gives you time to have a coffee in peace, or double check that everything is organise before the kids get up, it can make a big difference.

I hope these 8 tips to get you back into the school routine help.

How to organise your pantry

Having an organised pantry is essential. It’s a space you use numerous times a day so it needs to be setup right. You need to have different zones for your food, the right containers and a layout that works for the space So, here’s our top tips on how to organise your pantry.

Pantry organisation

Pantry organisation

Take everything out.

Remove all the items from your pantry, one shelve at a time.

Discard any out-of-date food.

Don’t forgot to start a list of items you need to replace.

Clean your pantry.

Using hot soapy water, wipe out each shelve.

Group like items together.

Put all your cereals together, your baking items together etc.

Pantry Storage

Pantry Storage

Choose your containers.

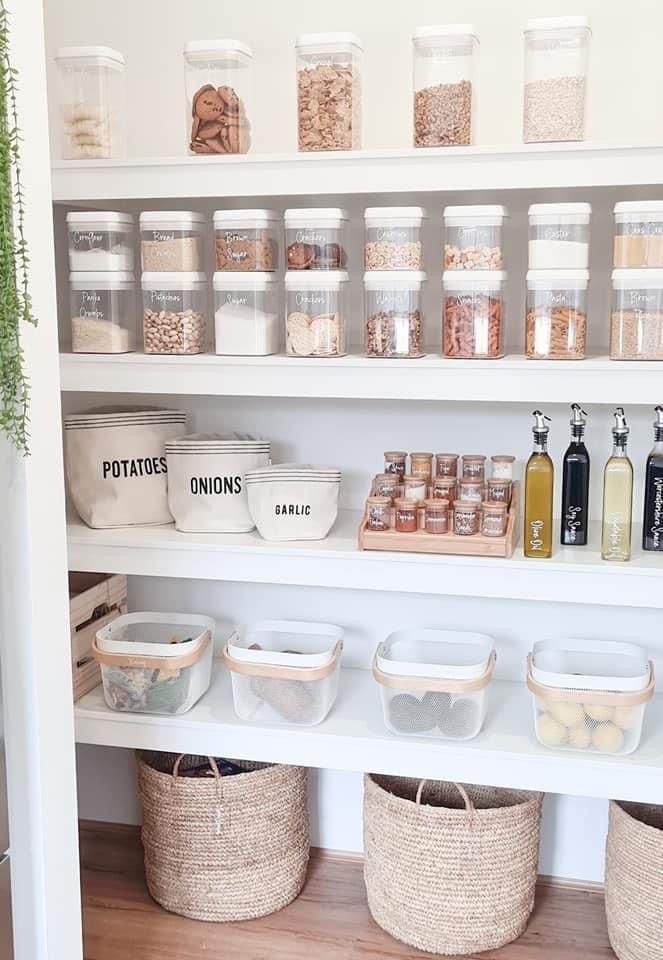
It’s a great time to replace any old containers or streamline your panty look and buy all matching containers. Clear containers are always best in the pantry. You just need to decide if you want plastic or glass ones. Don’t forget to wash out your new food containers before you decanter food into them.

When choosing the right type of container for your space, think about how they will stack together. Do you want square or round containers?  You might find that square containers stack better and therefore make the best use of your space. Just make sure the lids seal really well too.

Pantry Storage

Pantry Storage

Setting up your pantry in zones.

When putting everything back into your pantry, think about the different areas and what you use the most. Items that you use all the time, like breakfast cereal should be easily accessible at the front.

Label, label and label.

Don’t forget to label the food containers too. You can also label the shelves so everyone knows what items belong on what shelves. We often use custom made labels for our client’s pantries. You can choose the colour, font and shape. The look great and the labels last longer too.

Pantry Labels

Pantry Labels

Use baskets and tubs.

Baskets or pull out tubs are really useful to store bulky items in. Canned food can be stacked on tiered shelving, soup/packet mixes can be stored in pull-out baskets and spices in a spice rack.

Pantry Container


Create extra storage space.

We regulary get asked how to organise your pantry. As part of the organising process you should also look at how you can create more space as well. Can you create more storage zones by installing racks on the back of your door to store gladwrap, tin foil or paper towel on? For items that you don’t use regularly, think about storing them in tubs or containers either down the bottom or up the top of your pantry.

Once your pantry is neat and organised you will find that you waste less food too. You will be able to see what you have in your pantry because nothing is hidden in the back of your pantry. Plus, you won’t be knocking over the soy sauce bottle to reach your breakfast cereal because everything will be accessible.

Want to get your pantry organised? Then contact us. We love pantry’s.